
- Thu Apr 14, 2011 6:44 pm
#250417
I'm not the original author. I just noticed there was not a DIY for this here, and I found this one useful before.
Full Credit to "WildoutWhiteGSR" from civicforum.
First things first, you have to determine if your FITV (Fast Idle Thermo Valve) needs cleaning. Now if you’ve never done it before it probably does unless you bought a complete new one.
Reasons why you should take it apart and cleaning it:
-High idle before your car warms up
-Lumpy idle
-Roaming idle
-Hunting idle
-Fluctuating idle
Tools Needed:
Ratchet
8mm Socket
10mm Socket
Pliers
Flathead Screwdriver
Throttle Body Cleaner or Brake Cleaner
Paper Towels
A cooled down engine for at least 2 hours
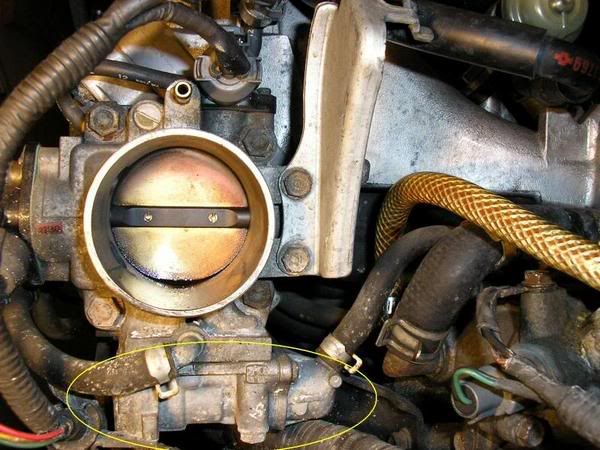
1) Now you got to locate where the FITV is. If your car is 1996 and newer you don’t have one. But for the older Gen 3 models like me, we do. Pop your hood and it’s located directly beneath the throttle body. It’s actually connected to it.
Attached to the FITV is one coolant line. This is how it looks with the intake on

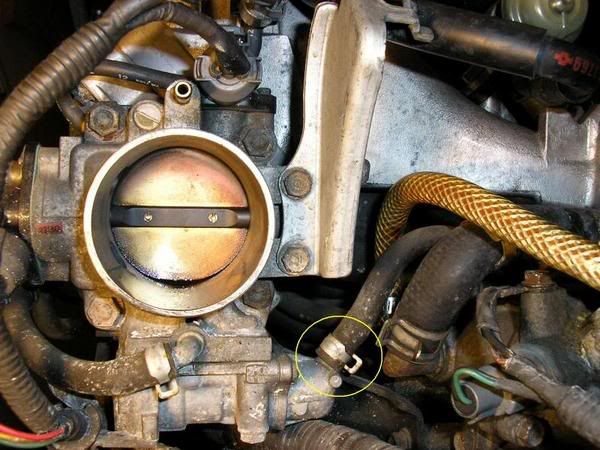
This is how it looks with the intake removed
2) Now that we’ve located it, Remove your intake and strut tower bar (if applicable). Next remove the one coolant hose that is attached to it, using the pliers to loosen the clip. Have lots paper towels underneath to catch the coolant when it leaks out.
3) Next is to remove the three 10mm bolts located at the bottom of the FITV. **Note the intake manifold here is upside down to make it easier for you to see**
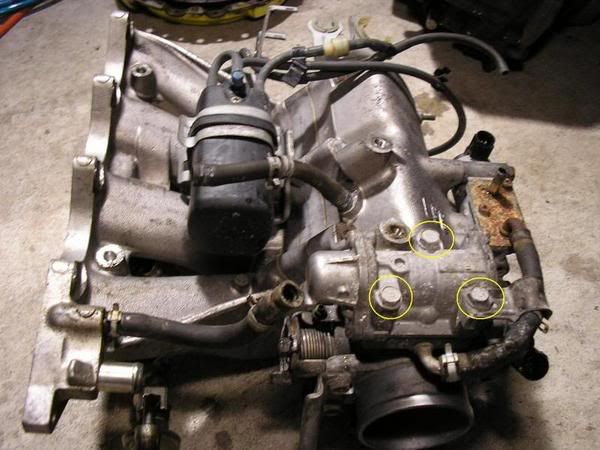
After it is removed from the engine it should look like this
Now spin it around to located the two 8mm bolts
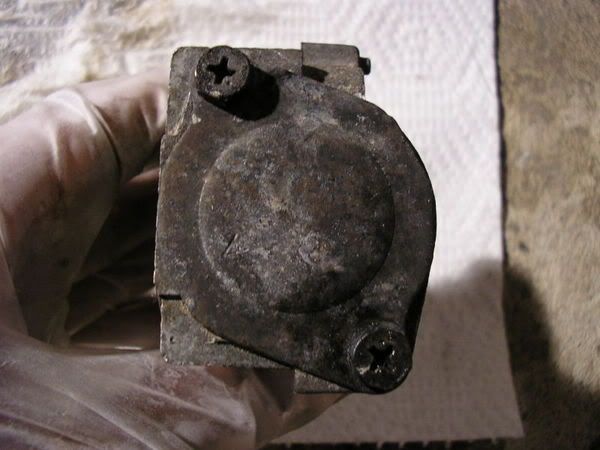
4) After you located those two bolts remove them carefully and you should be left with this. Sorry for the blurry picture, I was cold and shivering.

5) Now unscrew it with a screwdriver

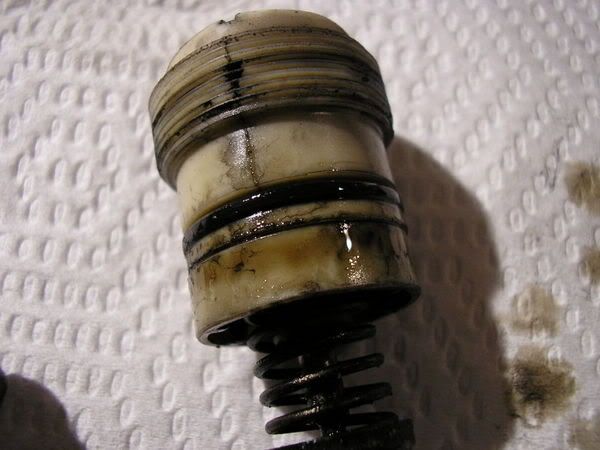
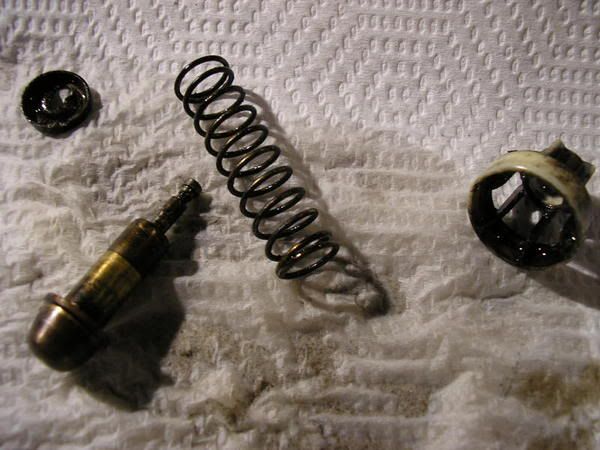
6) Now take it apart and give it a good cleaning with the throttle body or brake cleaner. This is what we should have taken apart so far minus the cap and two 8mm bolts

Before
After
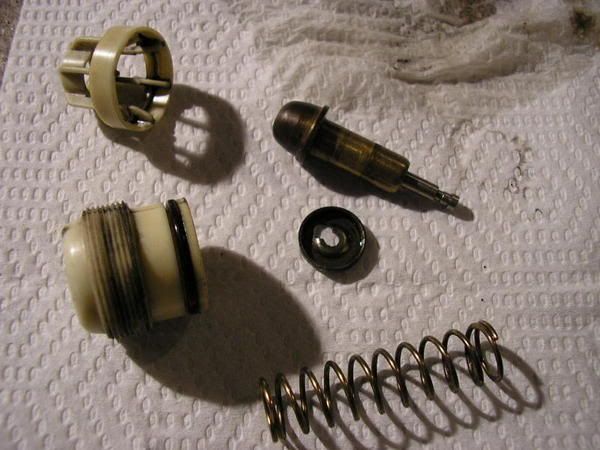
Semi put back together and cleaned
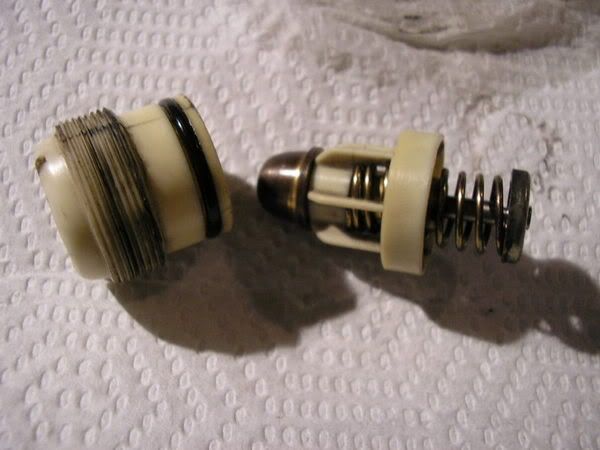
All cleaned up and back together

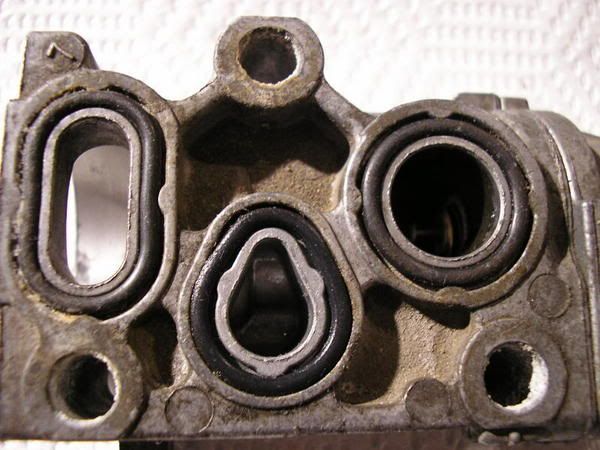
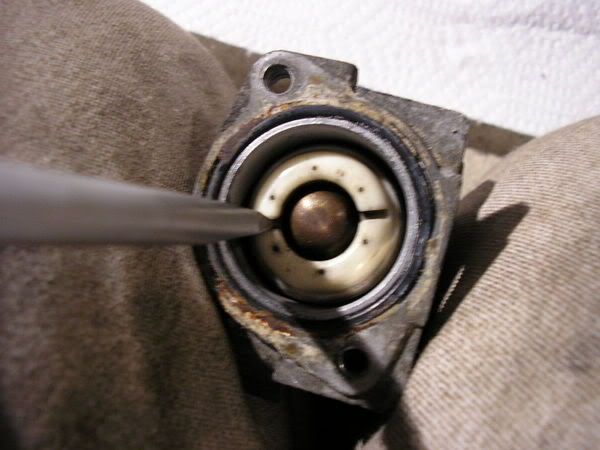
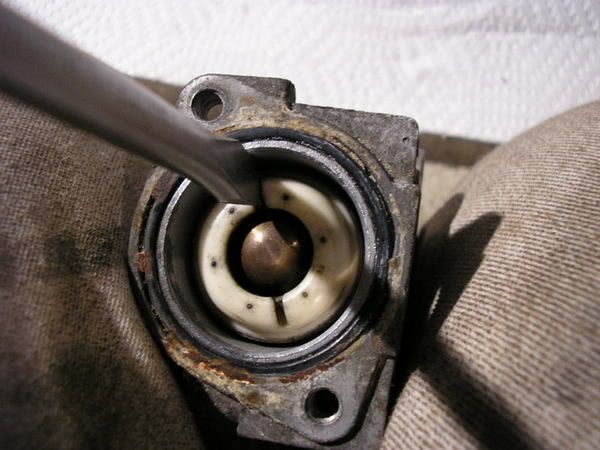
7) Clean up the inside of the FITV body like so
 Now screw it all the way back in or back to where it was before if your car idles fine.

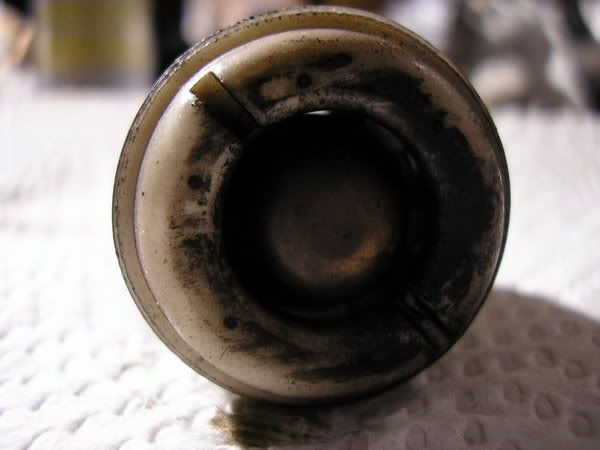
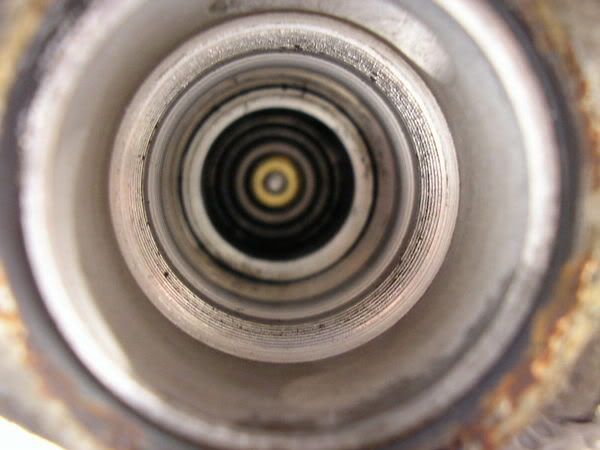
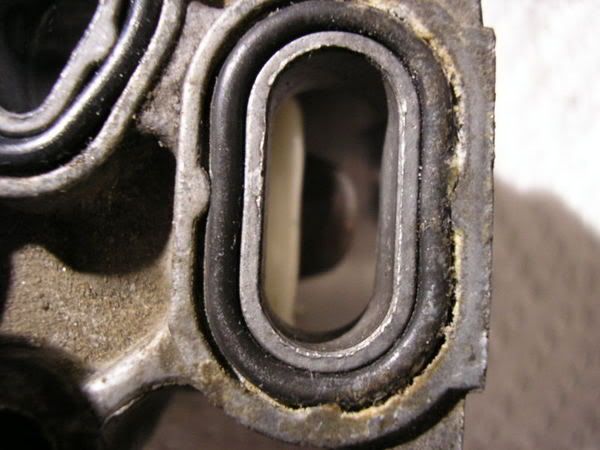
Side view shot through the hole. It isn’t screwed in all the way since my car idles fine at that position. Screw it in more if your car idles to high. The opposite if it idles to low.
9) Now put the cap back on and tighten the two 8mm bolts back down.
10) Reinstall the FITV back on your car following steps backwards from step 3 to step 1
And its done!
Full Credit to "WildoutWhiteGSR" from civicforum.
First things first, you have to determine if your FITV (Fast Idle Thermo Valve) needs cleaning. Now if you’ve never done it before it probably does unless you bought a complete new one.
Reasons why you should take it apart and cleaning it:
-High idle before your car warms up
-Lumpy idle
-Roaming idle
-Hunting idle
-Fluctuating idle
Tools Needed:
Ratchet
8mm Socket
10mm Socket
Pliers
Flathead Screwdriver
Throttle Body Cleaner or Brake Cleaner
Paper Towels
A cooled down engine for at least 2 hours
1) Now you got to locate where the FITV is. If your car is 1996 and newer you don’t have one. But for the older Gen 3 models like me, we do. Pop your hood and it’s located directly beneath the throttle body. It’s actually connected to it.
Attached to the FITV is one coolant line. This is how it looks with the intake on
This is how it looks with the intake removed
2) Now that we’ve located it, Remove your intake and strut tower bar (if applicable). Next remove the one coolant hose that is attached to it, using the pliers to loosen the clip. Have lots paper towels underneath to catch the coolant when it leaks out.
3) Next is to remove the three 10mm bolts located at the bottom of the FITV. **Note the intake manifold here is upside down to make it easier for you to see**
After it is removed from the engine it should look like this
Now spin it around to located the two 8mm bolts
4) After you located those two bolts remove them carefully and you should be left with this. Sorry for the blurry picture, I was cold and shivering.
5) Now unscrew it with a screwdriver
6) Now take it apart and give it a good cleaning with the throttle body or brake cleaner. This is what we should have taken apart so far minus the cap and two 8mm bolts
Before
After
Semi put back together and cleaned
All cleaned up and back together
7) Clean up the inside of the FITV body like so
Side view shot through the hole. It isn’t screwed in all the way since my car idles fine at that position. Screw it in more if your car idles to high. The opposite if it idles to low.
9) Now put the cap back on and tighten the two 8mm bolts back down.
10) Reinstall the FITV back on your car following steps backwards from step 3 to step 1
And its done!