- Sat Jul 18, 2009 7:14 am
#131351
Hey all i decided to do my own dash gauge pods.
so since im doing this i thought i should share with you all:
this is a work in progress plus this is my first DIY write up so bare with me please next one will be better
Here are the a list of tools and supplies you are going to need
TOOLS & SUPPLIES
: Dremel rotary tool for cutting and shaping
: Exacto Knife, razor blade
: Ruler
: Hack saw or any thing to cut PVC tubing
: Miter Box for those nice straight edges
: Quick set epoxy
: Crazy glue
: PVC piping (what ever size your going to need for your gauges)
: Fleece half a meter is more than enough
Step 1: Remove cluster dash plastic out of the car (since we should all know how to take it apart im not going to show you ):thumb:
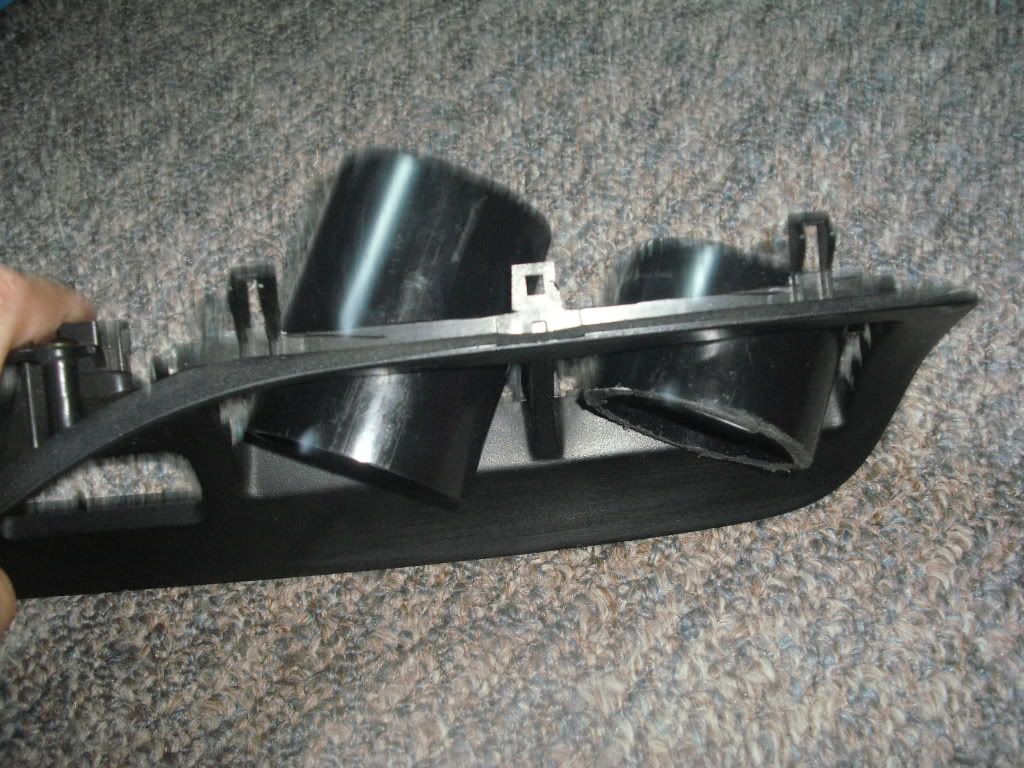
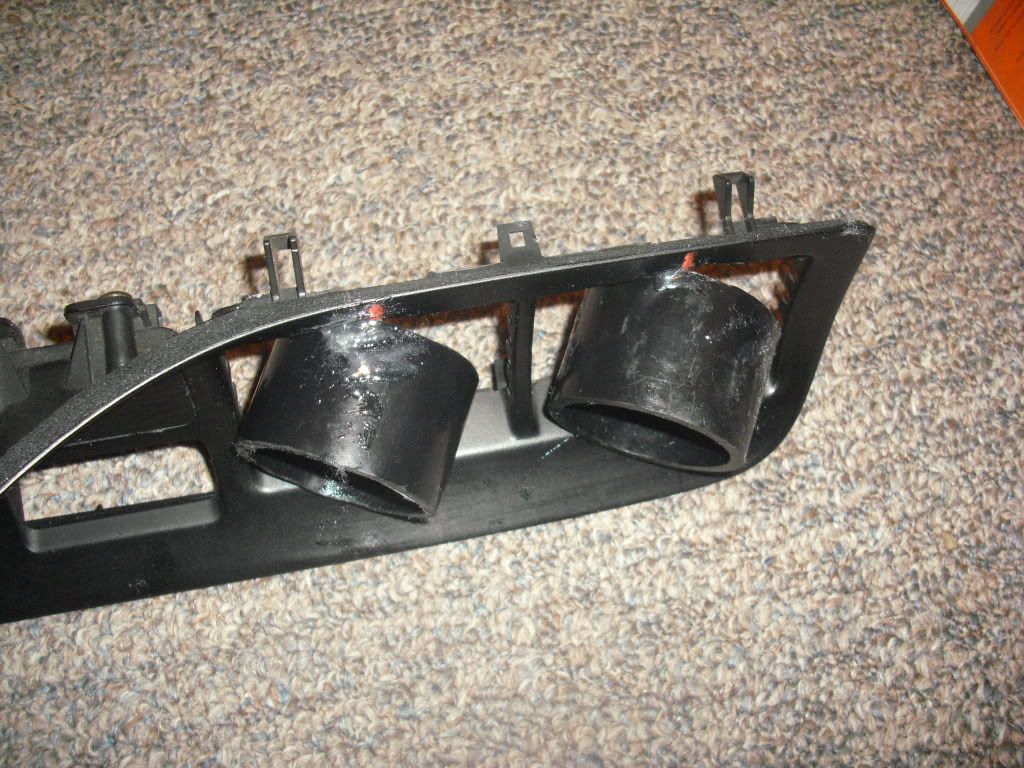
2: Cut your PVC piping to about 2 inches in length this measurement doesnt inter fear with any thing behind the vents notice the long one it was the first one i cut it was to long it hit the vent behind it so it wouldnt sit properly so i cut it down to 2 inches and it fit way better
3: Once you have it out, remove the vent fins from both sides using the rotary tool makes it a hell of a lot easier once that is done you should have something like this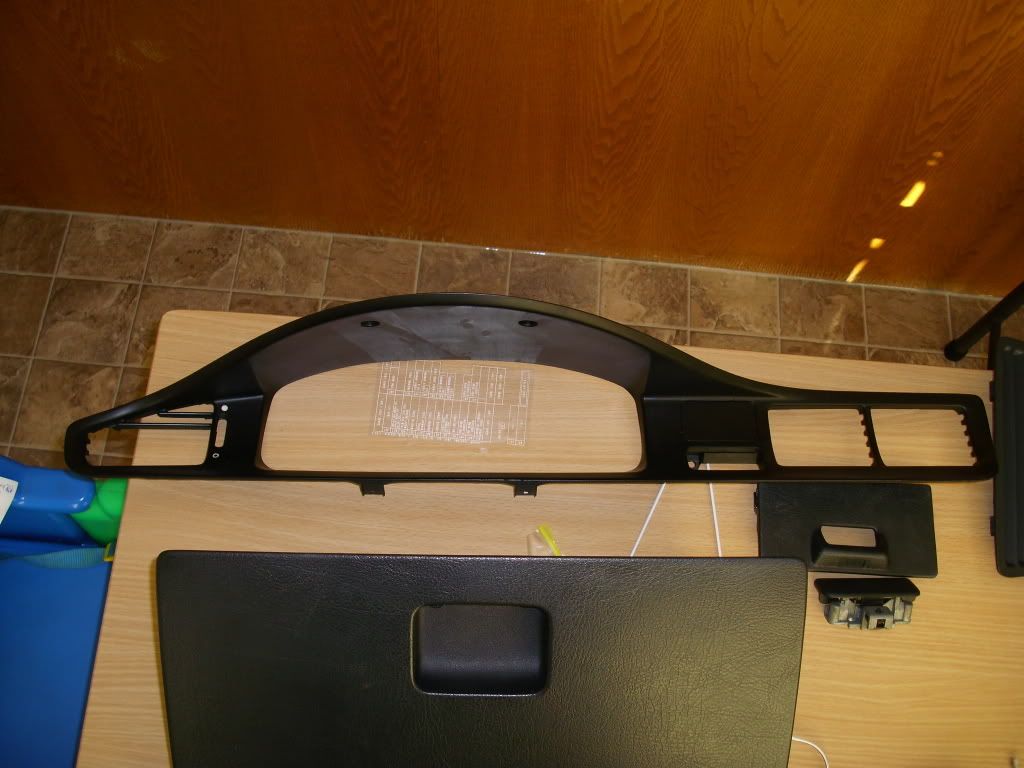
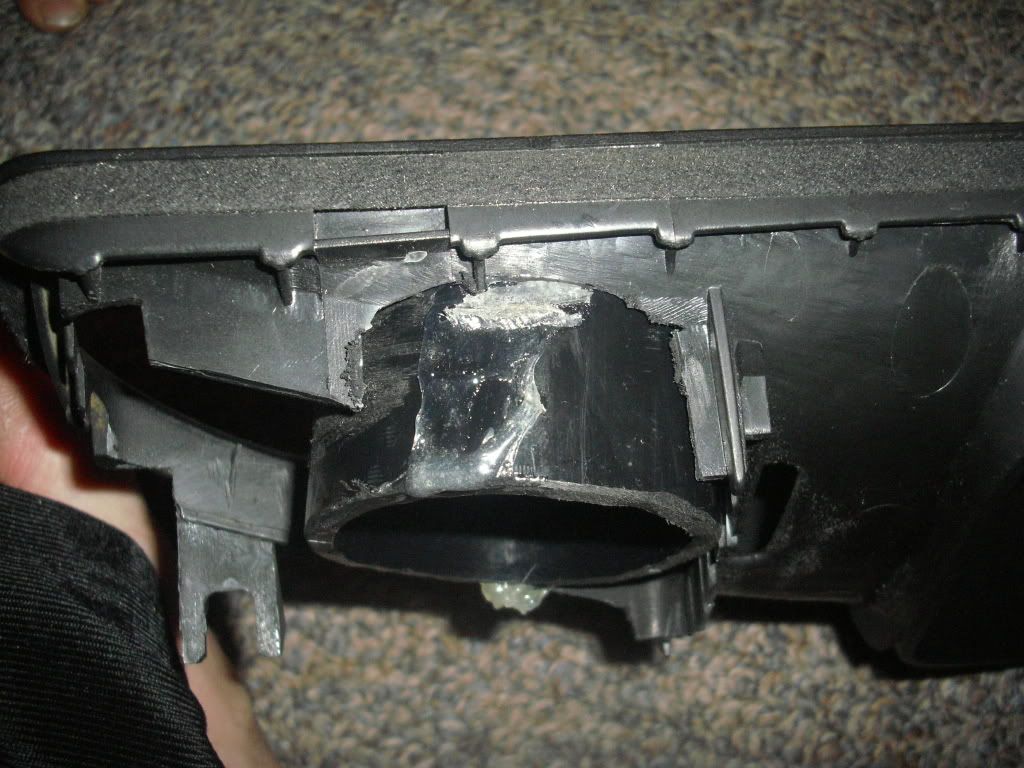
4: There are little vents that are attached cut them off and sand them smooth
5: Now we need to fit the tubing in the spots where those vents were
for this part i took the rotary sanding drum and sanded out a groove on the angle i wanted you are going to have to run to your car and set the angle of the tubing where you want it to sit
6: Once you have fine tunned the tubing it time for epoxying them in place. once it has mixed let the epoxy set a bit till its a lil bit thick put it on the tubing and then on the groove should stick pretty firm but you still ne to hold it till in is hard enough not to move. mix up enough to do one at a time,
7: Once the Epoxy has set enough that the wont move you can start covering the housing with your fleece (i use fleece becuase you can stretch it over objects great for custom sub boxes)
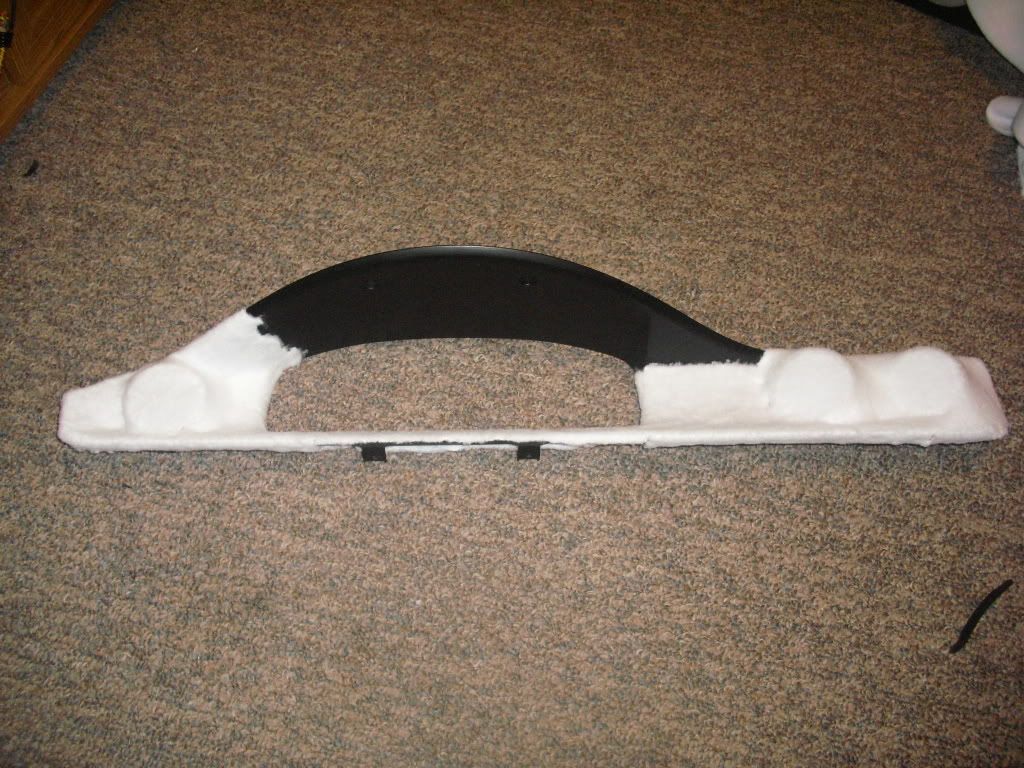
8: Start by taking your crazy glue and applying it to the ring first then apply the fleece then start shaping it by stretching and gluing the cloth in place dont need alot just tack it basiclly take you time start from one side and work over to the next ring stretch a lil bit the glue it and so on till you like the way it looks once everything is secure trim off all access material on the back
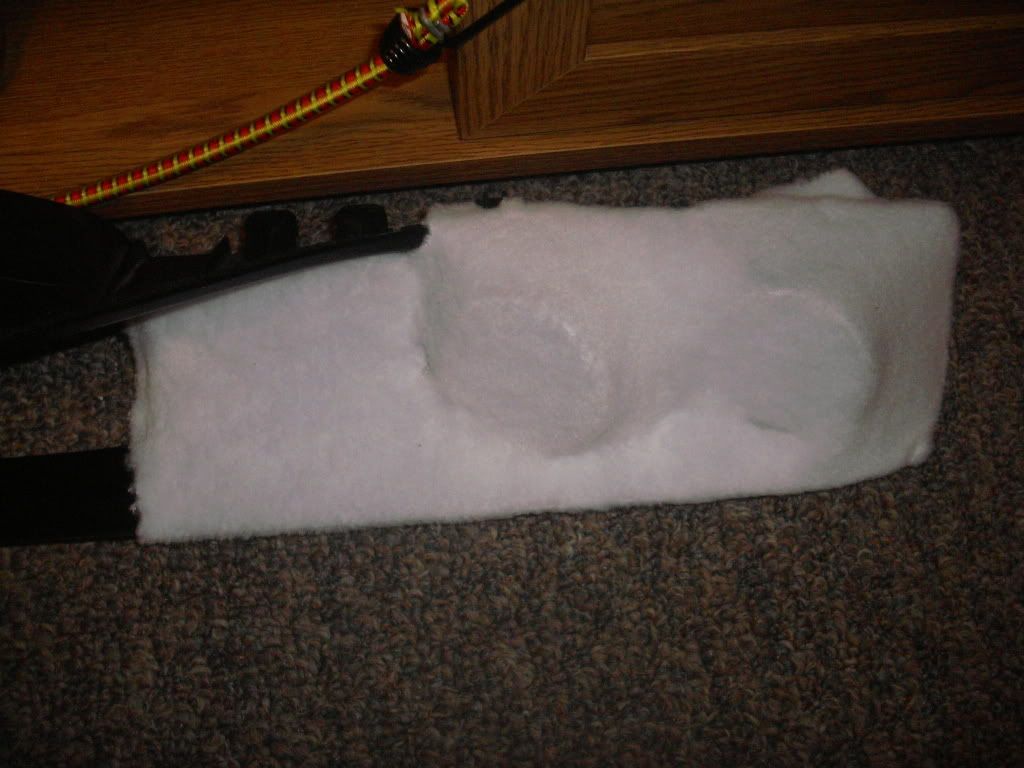
Notice i covered the hazard light button place dont worry we will cut it out later
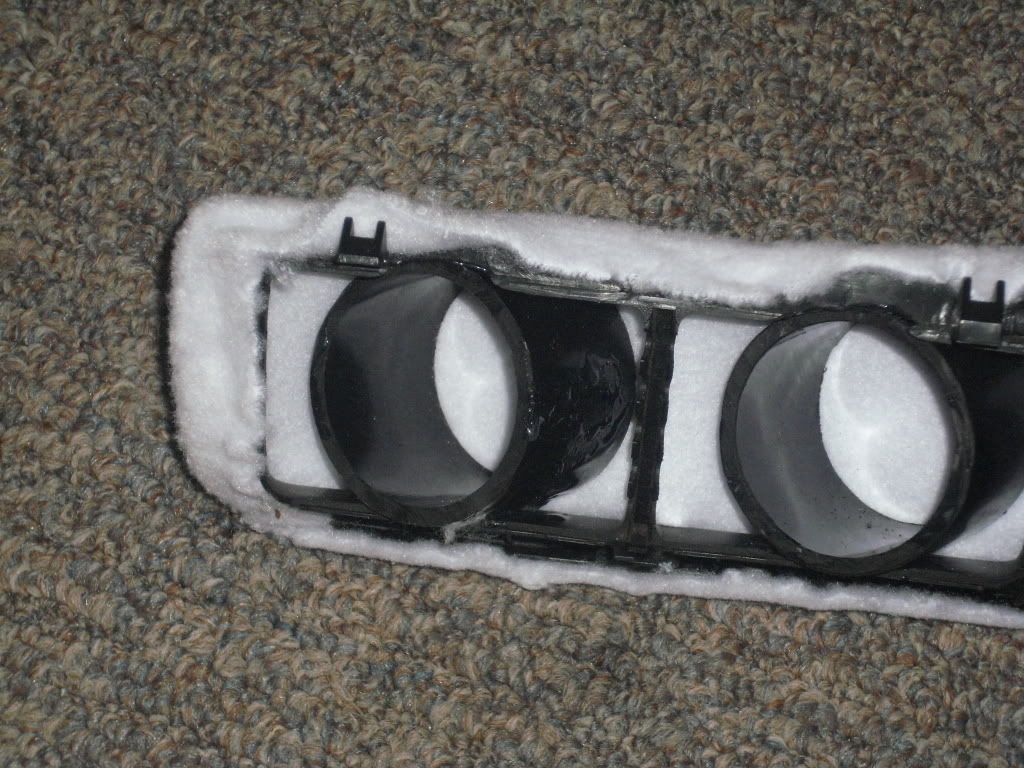
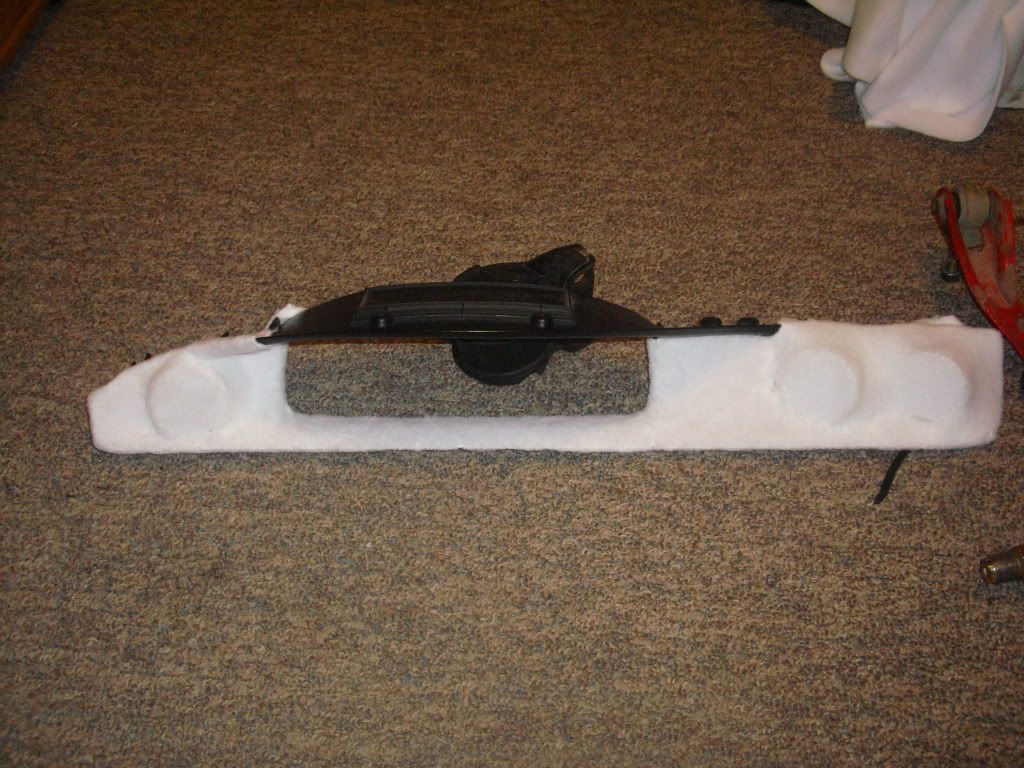
the back of the right dual pod
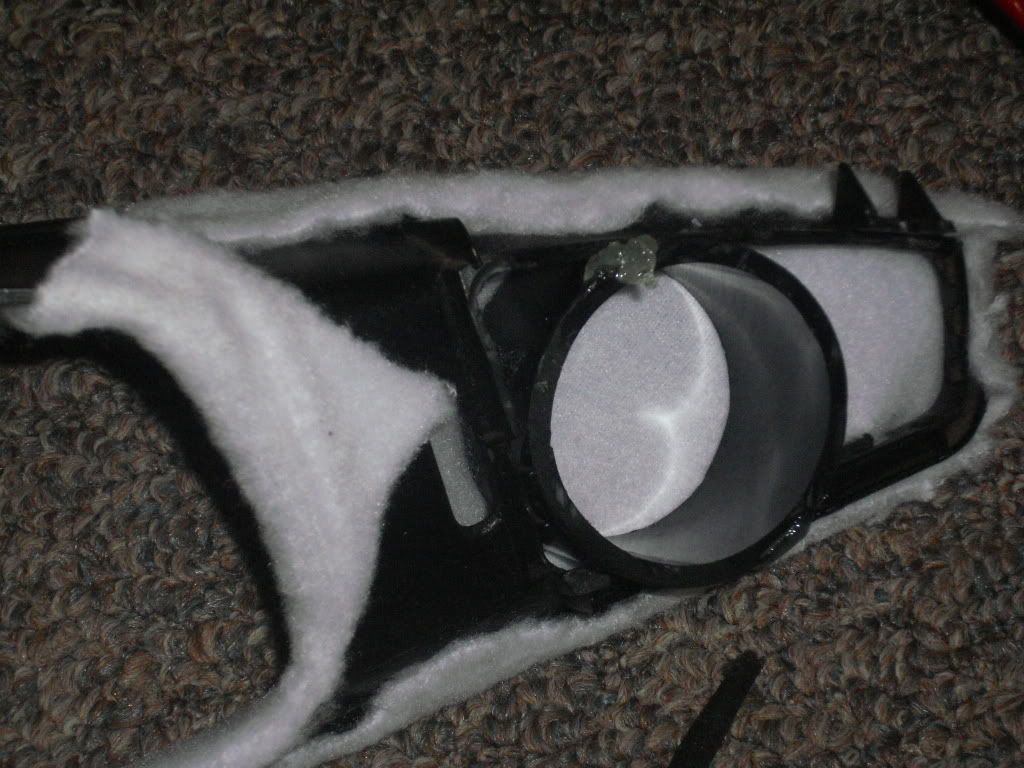
the back of the left single pod
Once your finished you should have something that looks like this
PART 2 Coming Soon!!!!
Applying the resin and filler and a hole lot of sanding
so since im doing this i thought i should share with you all:
this is a work in progress plus this is my first DIY write up so bare with me please next one will be better
Here are the a list of tools and supplies you are going to need
TOOLS & SUPPLIES
: Dremel rotary tool for cutting and shaping
: Exacto Knife, razor blade
: Ruler
: Hack saw or any thing to cut PVC tubing
: Miter Box for those nice straight edges
: Quick set epoxy
: Crazy glue
: PVC piping (what ever size your going to need for your gauges)
: Fleece half a meter is more than enough
Step 1: Remove cluster dash plastic out of the car (since we should all know how to take it apart im not going to show you ):thumb:
2: Cut your PVC piping to about 2 inches in length this measurement doesnt inter fear with any thing behind the vents notice the long one it was the first one i cut it was to long it hit the vent behind it so it wouldnt sit properly so i cut it down to 2 inches and it fit way better
3: Once you have it out, remove the vent fins from both sides using the rotary tool makes it a hell of a lot easier once that is done you should have something like this
4: There are little vents that are attached cut them off and sand them smooth
5: Now we need to fit the tubing in the spots where those vents were
for this part i took the rotary sanding drum and sanded out a groove on the angle i wanted you are going to have to run to your car and set the angle of the tubing where you want it to sit
6: Once you have fine tunned the tubing it time for epoxying them in place. once it has mixed let the epoxy set a bit till its a lil bit thick put it on the tubing and then on the groove should stick pretty firm but you still ne to hold it till in is hard enough not to move. mix up enough to do one at a time,
7: Once the Epoxy has set enough that the wont move you can start covering the housing with your fleece (i use fleece becuase you can stretch it over objects great for custom sub boxes)
8: Start by taking your crazy glue and applying it to the ring first then apply the fleece then start shaping it by stretching and gluing the cloth in place dont need alot just tack it basiclly take you time start from one side and work over to the next ring stretch a lil bit the glue it and so on till you like the way it looks once everything is secure trim off all access material on the back
Notice i covered the hazard light button place dont worry we will cut it out later
the back of the right dual pod
the back of the left single pod
Once your finished you should have something that looks like this
PART 2 Coming Soon!!!!
Applying the resin and filler and a hole lot of sanding