- Fri Dec 18, 2009 6:51 am
#162706
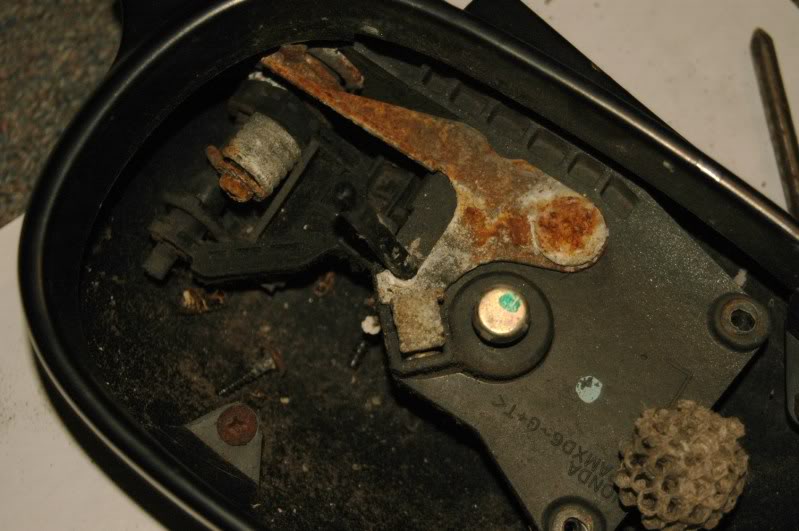
Ok so i have a power mirror one in the works right now but im waiting on getting that painted a bit and yea i shouldnt of put it together late at night when i am tired since i broke a little plastic ball for the adjuster nothing that cant be easily fixed but yea hopefully this helps those who wish to paint their mirror outer plastics and not their mirror or want to clean up their insides maybe like mine there was a hornets nest in there ........
Note: This was done on a drivers side non-power manual mirror should be the same for the passenger side as well...
Also I am not responsible for you screwing up take your time and my writeup is mainly to help you its not in any way a complete write up on how to dissassemble the mirror and reassemble it properly.....
...........................................................................................................
Ok lets begine
Step one
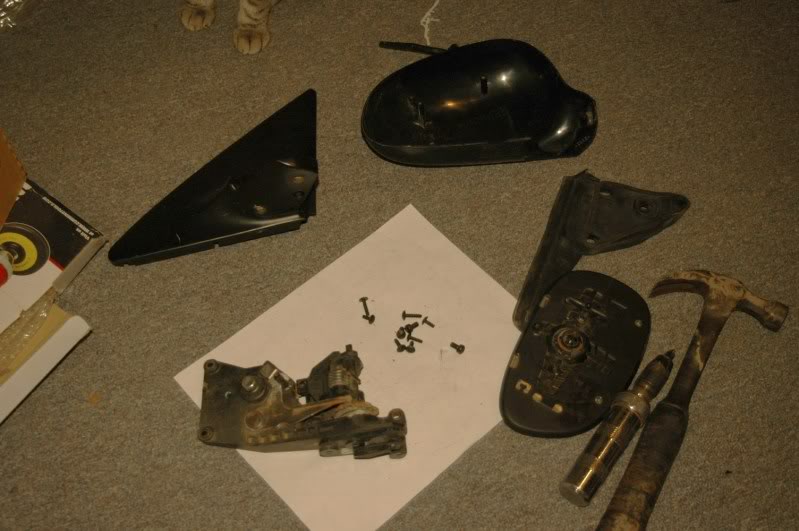
Get your mirror and tools together

Tools needed
-Small flat head
-Phillips head screwdriver i used a size #2 and it worked perfectly not to strip anything
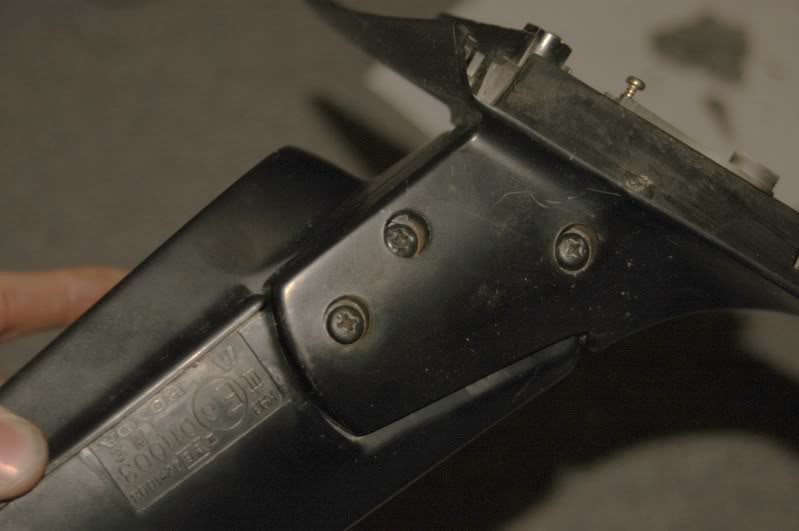
-For those stubborn screw in the bendable area of the mirror theres three
You should use a impact screw driver and hammer make sure the bit fits inside well and there is little to no play so you dont run the risk of stripping the thing.
-5/16" wrench to pop off the studs that screw into the mirror attatchment plate.
you may also wish to have
-Music
-anti-seize
-auto grease
-wire wheel if your screw like mine where rusty.......
Also find a nice clean area so as you wont lose any screws you can also place them either back in the hole or in a container....
Step two
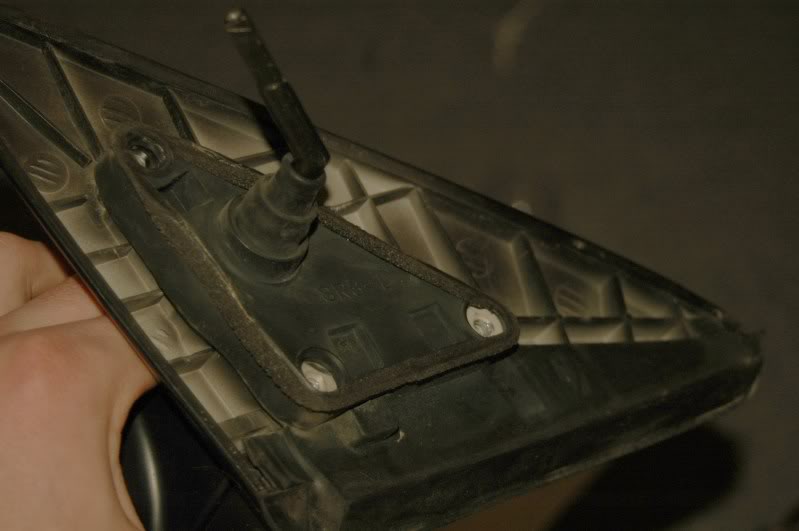
Take the mirror rubber off carefully (this is the gasket that goes in between your mirror and the door so make sure its in good condition). This will give you access to two screws which hold the adjuster in place, undo these two screws and take off the adjuster.
Ok now we are gonna have the hardest part i came into thankfully i had my impact driver....
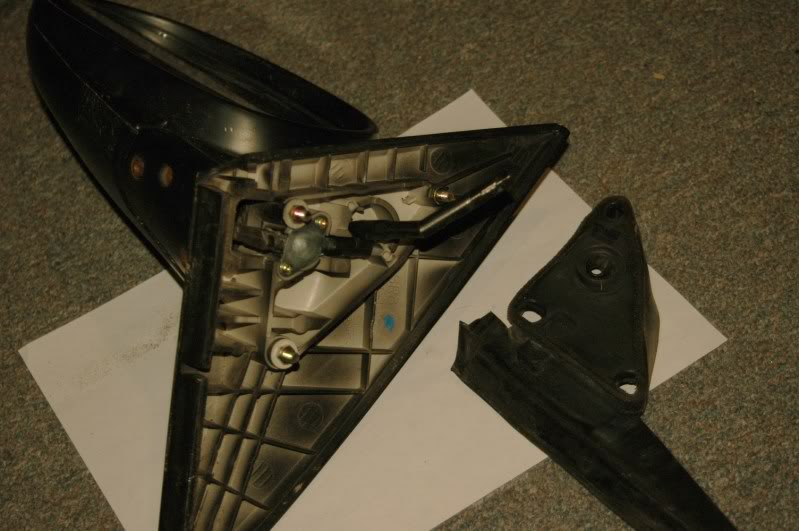
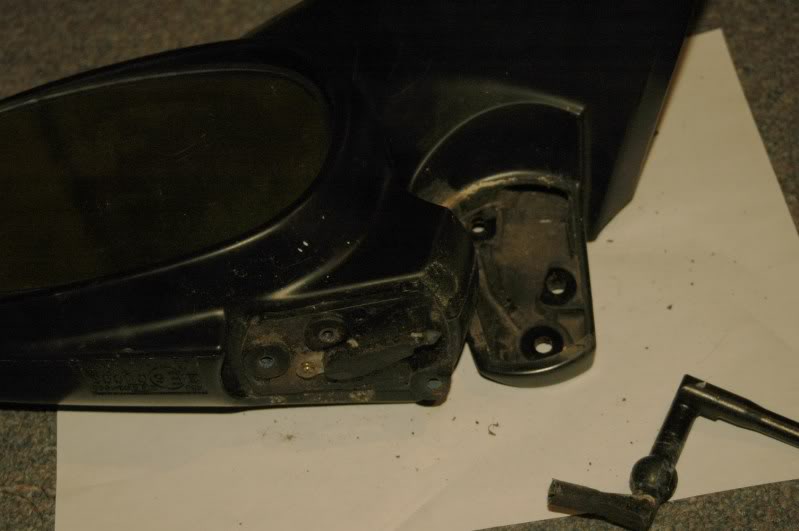
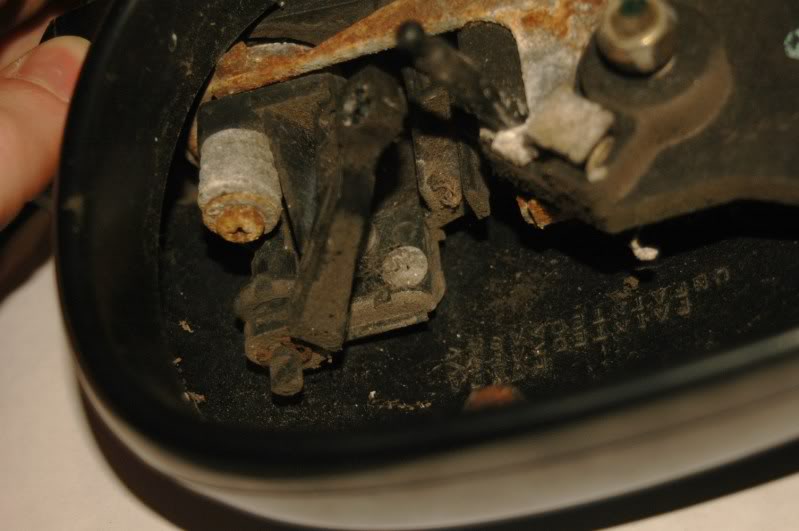
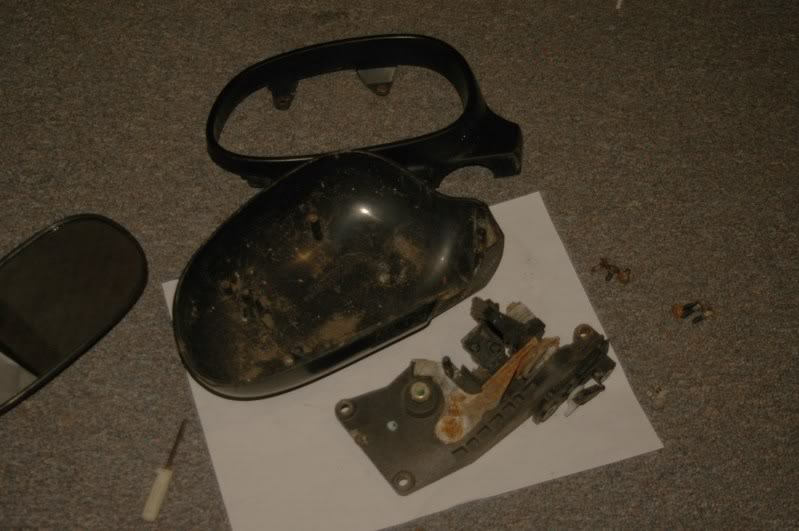
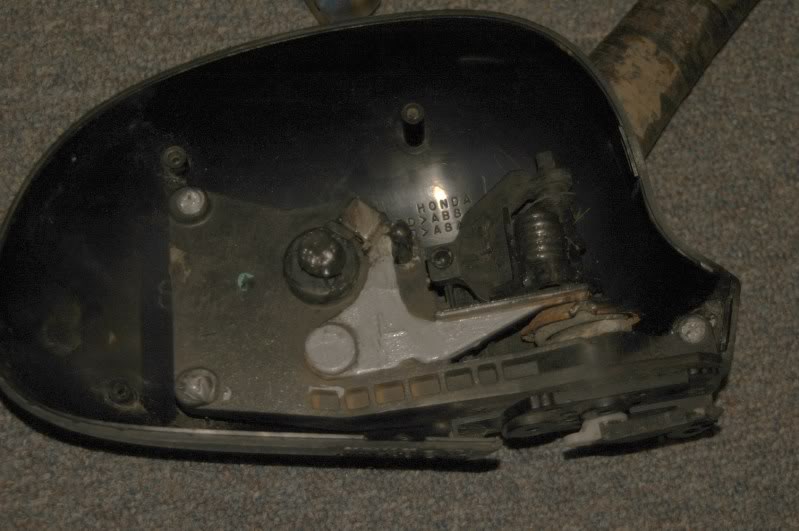
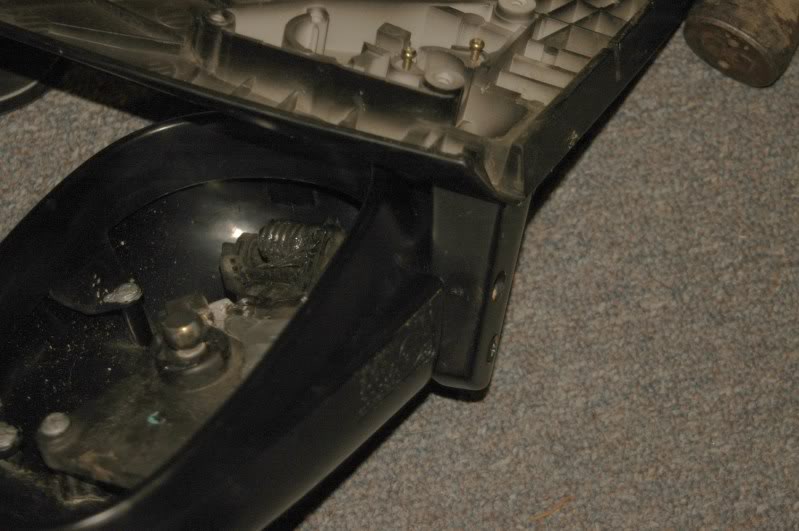
Step three-seperate the mirror from the plate in which it adapts to the door.
TIP: now due to the design of everything it wont sit perfectly how you need it of coarse so i sat the mirror in between my legs. and held on to it that way there are other ways but thats what worked best...
Ok so now you should end up looking like this
Now onto the second hardest part only because well its the mirror.....
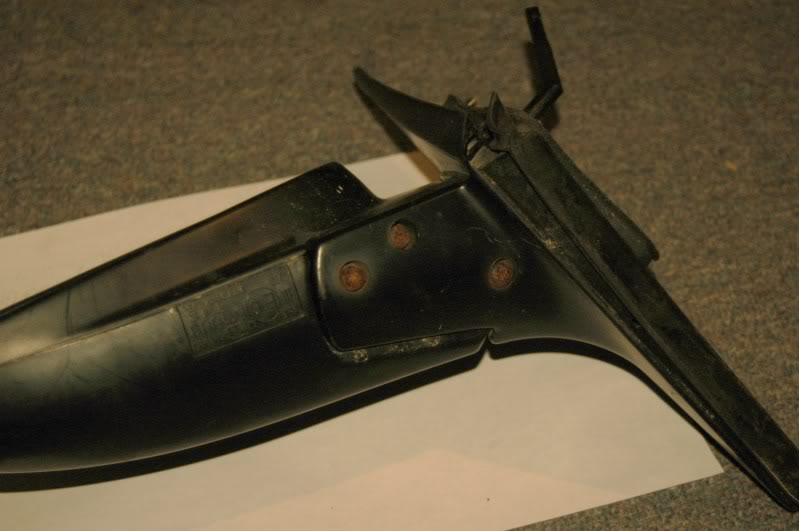
Step four popping off the mirror....
now the way i did this was tilting the mirror upwards and giving it a switch pop not a jerk motion but a slowly applied pressure and then pull a bit if this makes you feel uncomfortable id suggest finding a better way.....
TIP: since most of your plastic brittle peices are on the side closest to the door i started by popping the mirror off the main stud if you will going from outer to inner....

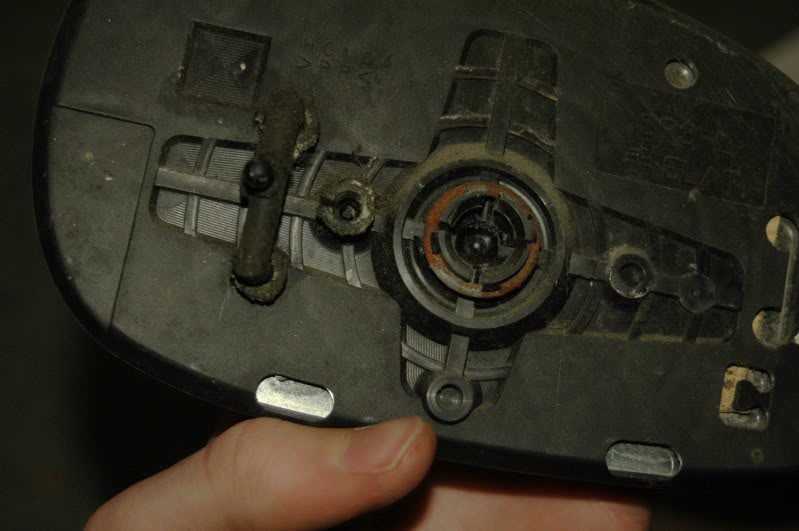
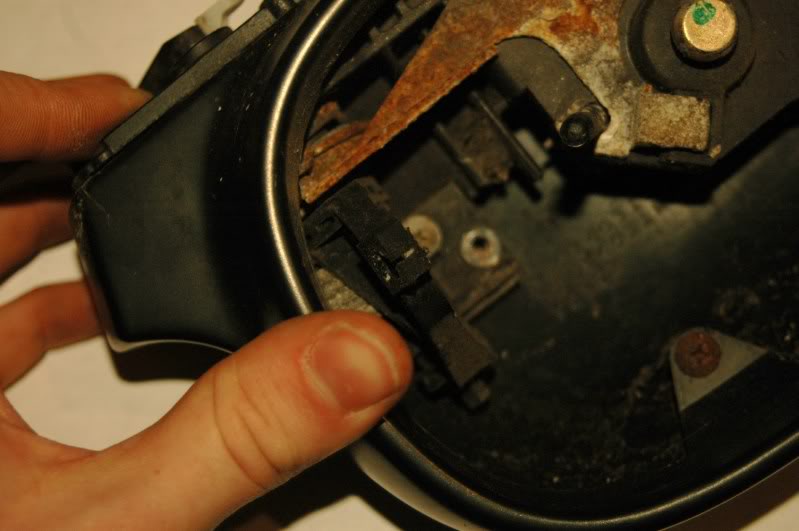
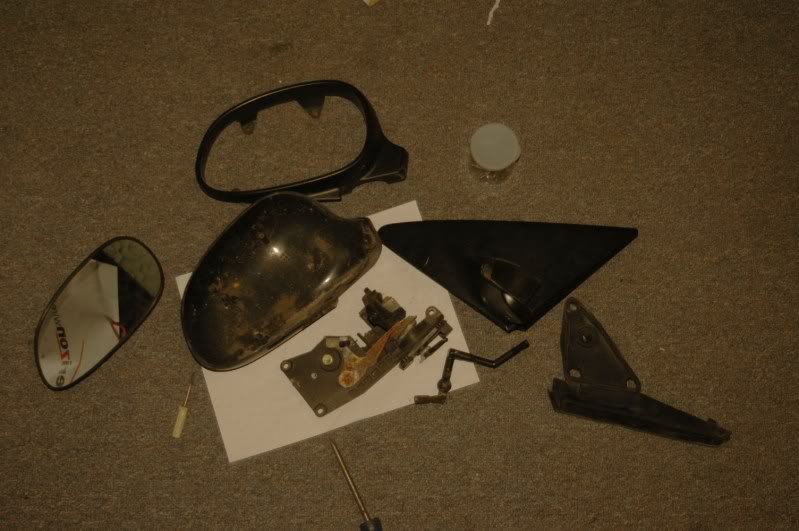
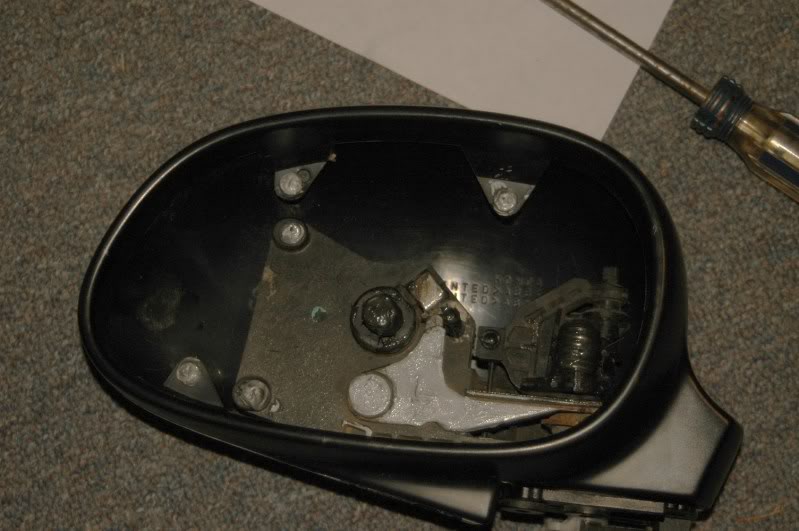
There we go mirrors off now lets get down to those screws you just revealed....
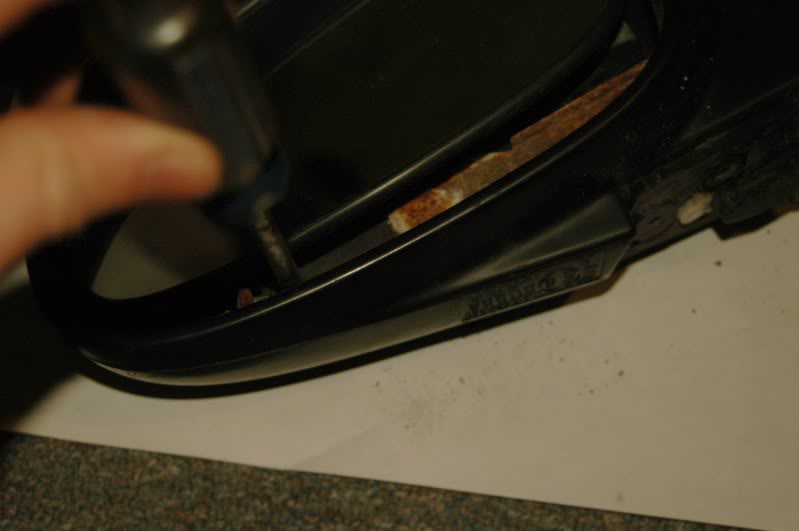
Step 5 taking off the outer ring.
TIP- unlike the power mirror which is strictly held in with screws this has clips i suggest popping those after taking off all the screws and by slowly depressing the clip with a small flat head
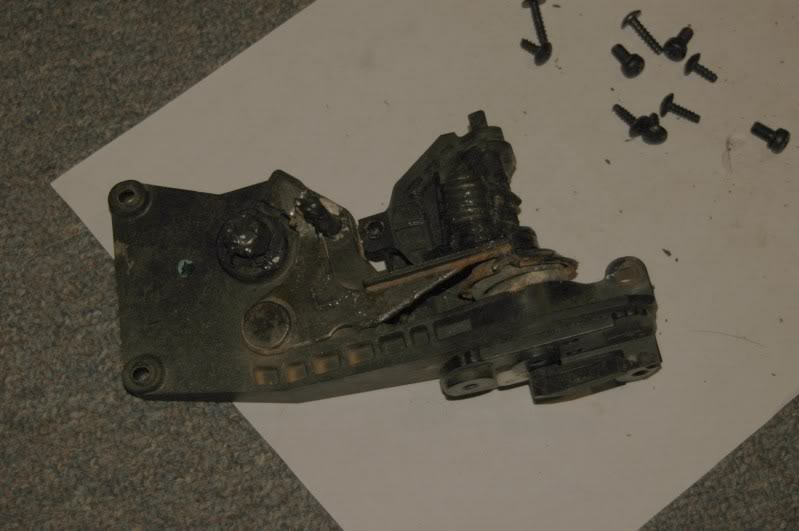
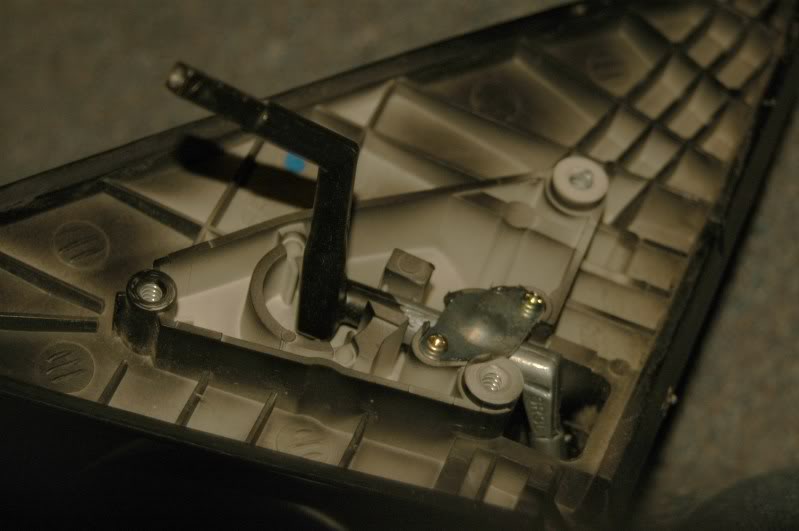
The last image is blurry im sorry for that but popping this off will reveal all the screws for the mechanism that controls the mirror unscrew those and slide it out and there you go dissassembly completed!! woot.
Now pat yourself on the back your only halfway done lol
depending on what your doing you can either clean up the screws if they are rusty or you can go ahead and paint the plastic covers either way once your done with whatever you are doing its time to put everyhting back together this is where the antiseize (which helps prevent corrosion from what the bottle says lol) and the grease comes in.
step one is i grease the spring and placed the silver anti-seize on the bare metal.....
slide the mechanism back in place and screw it in.
Now for step two putting on that cover
TIP:now i had some problems with the clips and it turns out you need to manipulate the plastic a bit for them to find their home again push the tabs in a bit and whatnot till you hear a snap then screw in your outer cover....
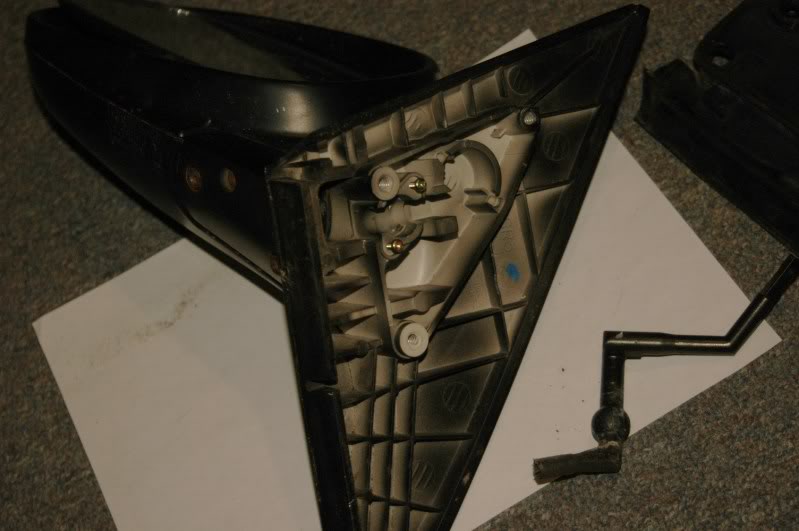
Step four would have been place the mirror back on but i screwed up and forgot i had taken off this one screw on teh bottom that secures the post so it dosen’t move up and down very easily well low and behold i broke one of the balls off so off to the junkyard easy fix but just to forewarn those who go a step further and completely disassemble everything....
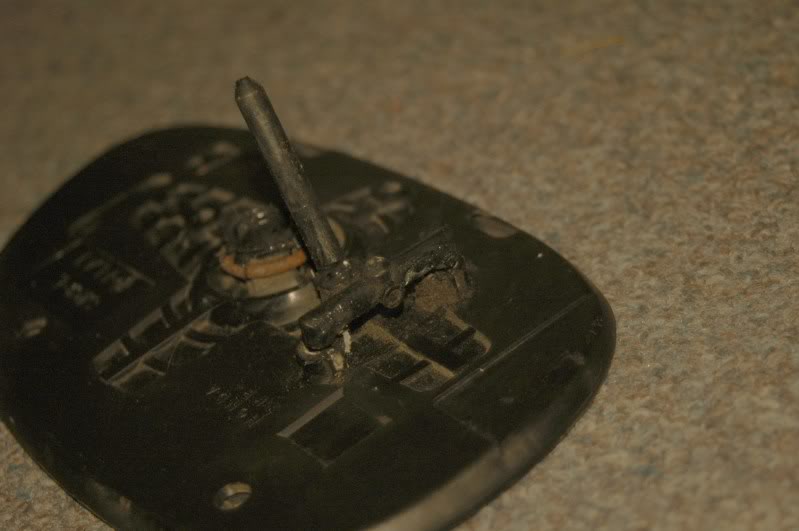
TIP:its also easier to snap the one ball on the long stick in the mirror and then slide it in heres a pic of what i mean
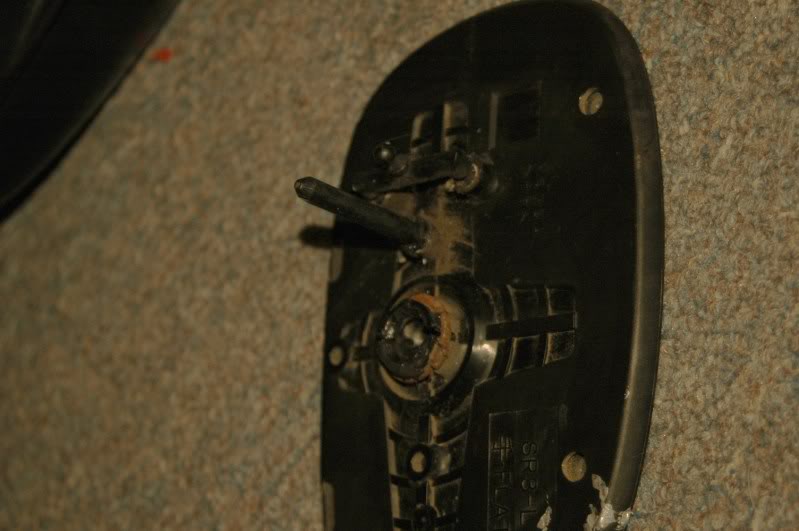
and the broken part
Next even if you didnt install the mirror you can continue
Ok so your almost there but dont get cocky lol
Take the mirror and the mirror plate that screws into the door itself and screw that back together....
TIP: test it out move the mirror plate folding the mirror in etc... making sure everything so far is going back together nicely
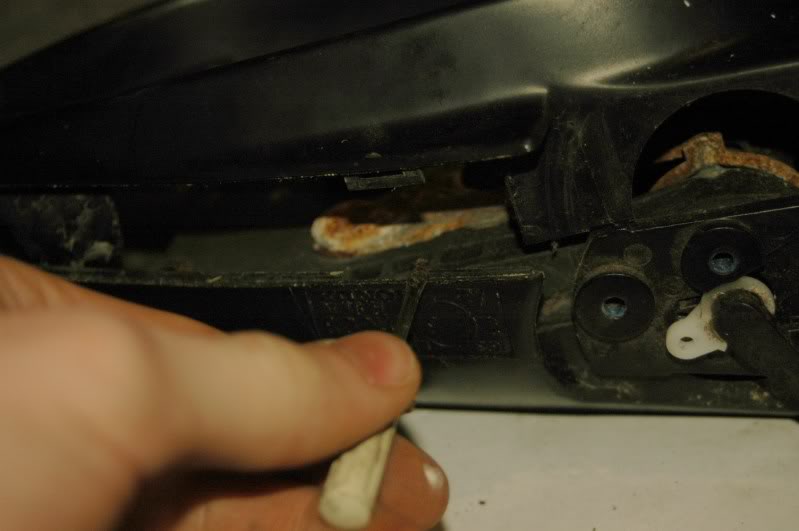
Next step would be to install the all important adjustment stick
easy enough align the bottom with the little plastic piece sticking out you will see it. TIP: if you hadnt already installed the mirror and if you did you should be able to manipulate the plastic peice in the mirror that the adjustment stick goes over
and screw her in
now if you removed the studs i would replace them now before you put in the rubber gasket....
once the studs are in place the rubber gasket on and your pretty much done if you havent installed the mirror yet do so now. and test out make sure everything works and voila a pretty much new mirror at least a reconditioned part that is sure to last a bit longer....
Hope this helps someone out there.....will be doing the power mirror shortly and just so people know
you cannot put power mirror internals in a manual mirror i will show pictures of each and you will see a large difference.
Thank you for veiwing please leave comments so i can make my diys better
Note: This was done on a drivers side non-power manual mirror should be the same for the passenger side as well...
Also I am not responsible for you screwing up take your time and my writeup is mainly to help you its not in any way a complete write up on how to dissassemble the mirror and reassemble it properly.....
...........................................................................................................
Ok lets begine
Step one
Get your mirror and tools together
Tools needed
-Small flat head
-Phillips head screwdriver i used a size #2 and it worked perfectly not to strip anything
-For those stubborn screw in the bendable area of the mirror theres three
You should use a impact screw driver and hammer make sure the bit fits inside well and there is little to no play so you dont run the risk of stripping the thing.
-5/16" wrench to pop off the studs that screw into the mirror attatchment plate.
you may also wish to have
-Music
-anti-seize
-auto grease
-wire wheel if your screw like mine where rusty.......
Also find a nice clean area so as you wont lose any screws you can also place them either back in the hole or in a container....
Step two
Take the mirror rubber off carefully (this is the gasket that goes in between your mirror and the door so make sure its in good condition). This will give you access to two screws which hold the adjuster in place, undo these two screws and take off the adjuster.
Ok now we are gonna have the hardest part i came into thankfully i had my impact driver....
Step three-seperate the mirror from the plate in which it adapts to the door.
TIP: now due to the design of everything it wont sit perfectly how you need it of coarse so i sat the mirror in between my legs. and held on to it that way there are other ways but thats what worked best...
Ok so now you should end up looking like this
Now onto the second hardest part only because well its the mirror.....
Step four popping off the mirror....
now the way i did this was tilting the mirror upwards and giving it a switch pop not a jerk motion but a slowly applied pressure and then pull a bit if this makes you feel uncomfortable id suggest finding a better way.....
TIP: since most of your plastic brittle peices are on the side closest to the door i started by popping the mirror off the main stud if you will going from outer to inner....
There we go mirrors off now lets get down to those screws you just revealed....
Step 5 taking off the outer ring.
TIP- unlike the power mirror which is strictly held in with screws this has clips i suggest popping those after taking off all the screws and by slowly depressing the clip with a small flat head
The last image is blurry im sorry for that but popping this off will reveal all the screws for the mechanism that controls the mirror unscrew those and slide it out and there you go dissassembly completed!! woot.
Now pat yourself on the back your only halfway done lol
depending on what your doing you can either clean up the screws if they are rusty or you can go ahead and paint the plastic covers either way once your done with whatever you are doing its time to put everyhting back together this is where the antiseize (which helps prevent corrosion from what the bottle says lol) and the grease comes in.
step one is i grease the spring and placed the silver anti-seize on the bare metal.....
slide the mechanism back in place and screw it in.
Now for step two putting on that cover
TIP:now i had some problems with the clips and it turns out you need to manipulate the plastic a bit for them to find their home again push the tabs in a bit and whatnot till you hear a snap then screw in your outer cover....
Step four would have been place the mirror back on but i screwed up and forgot i had taken off this one screw on teh bottom that secures the post so it dosen’t move up and down very easily well low and behold i broke one of the balls off so off to the junkyard easy fix but just to forewarn those who go a step further and completely disassemble everything....
TIP:its also easier to snap the one ball on the long stick in the mirror and then slide it in heres a pic of what i mean
and the broken part
Next even if you didnt install the mirror you can continue
Ok so your almost there but dont get cocky lol
Take the mirror and the mirror plate that screws into the door itself and screw that back together....
TIP: test it out move the mirror plate folding the mirror in etc... making sure everything so far is going back together nicely
Next step would be to install the all important adjustment stick
easy enough align the bottom with the little plastic piece sticking out you will see it. TIP: if you hadnt already installed the mirror and if you did you should be able to manipulate the plastic peice in the mirror that the adjustment stick goes over
and screw her in
now if you removed the studs i would replace them now before you put in the rubber gasket....
once the studs are in place the rubber gasket on and your pretty much done if you havent installed the mirror yet do so now. and test out make sure everything works and voila a pretty much new mirror at least a reconditioned part that is sure to last a bit longer....
Hope this helps someone out there.....will be doing the power mirror shortly and just so people know
you cannot put power mirror internals in a manual mirror i will show pictures of each and you will see a large difference.
Thank you for veiwing please leave comments so i can make my diys better
1980 volvo 242
2001 crv
not using punctuation or good sentence structure since day 1
2001 crv
not using punctuation or good sentence structure since day 1