more pics when i reach home tomorrow
A forum dedicated to the 1992-1995 Honda Civic.

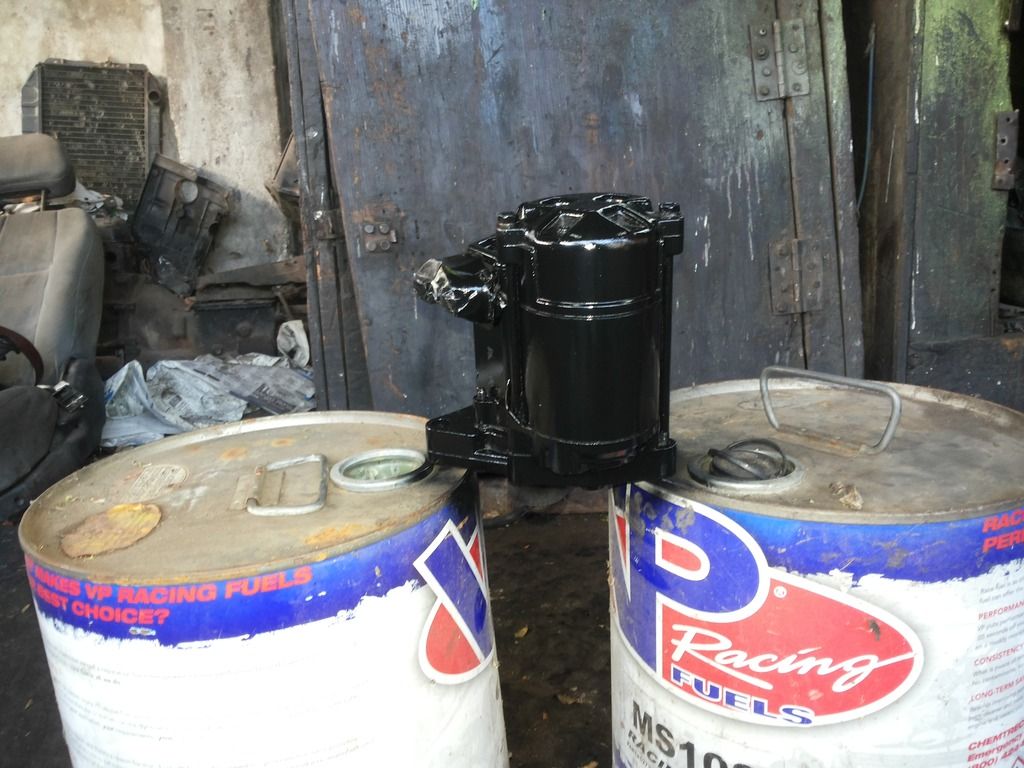
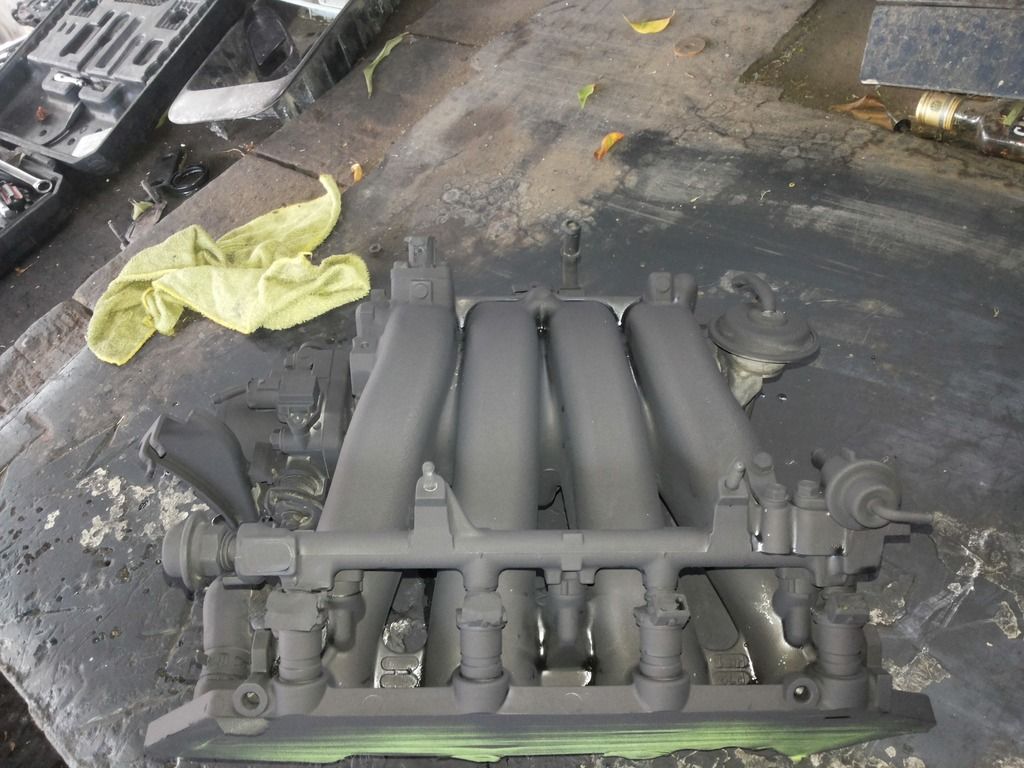
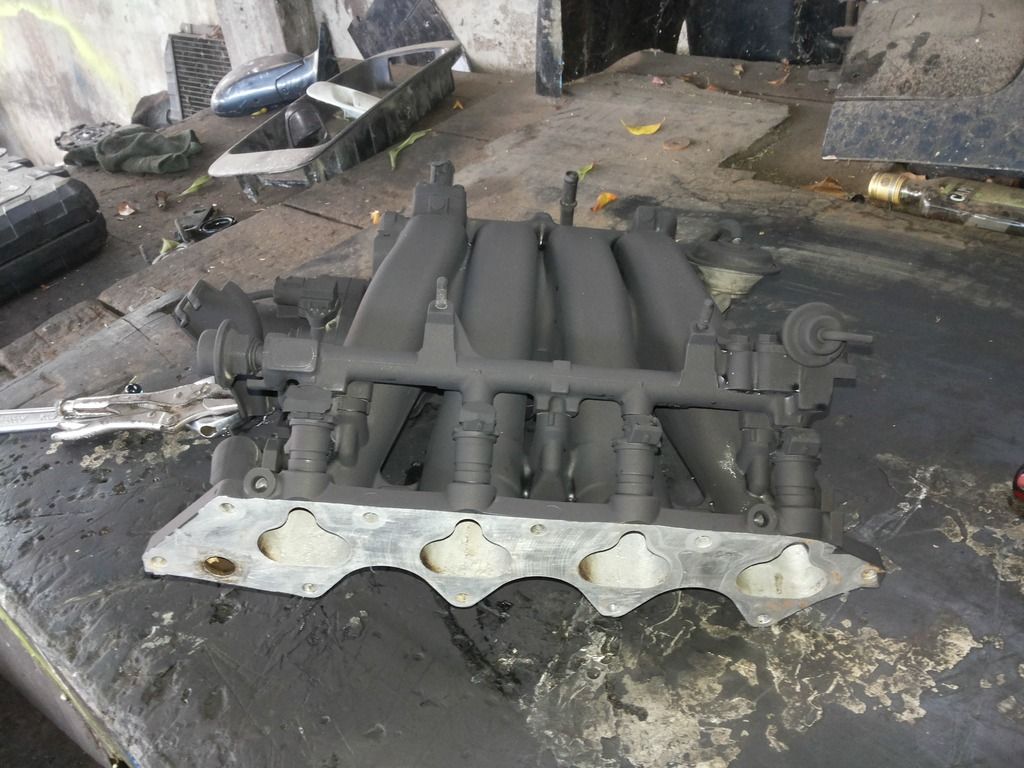
teal_dx wrote:Good attention to painting all the small bits
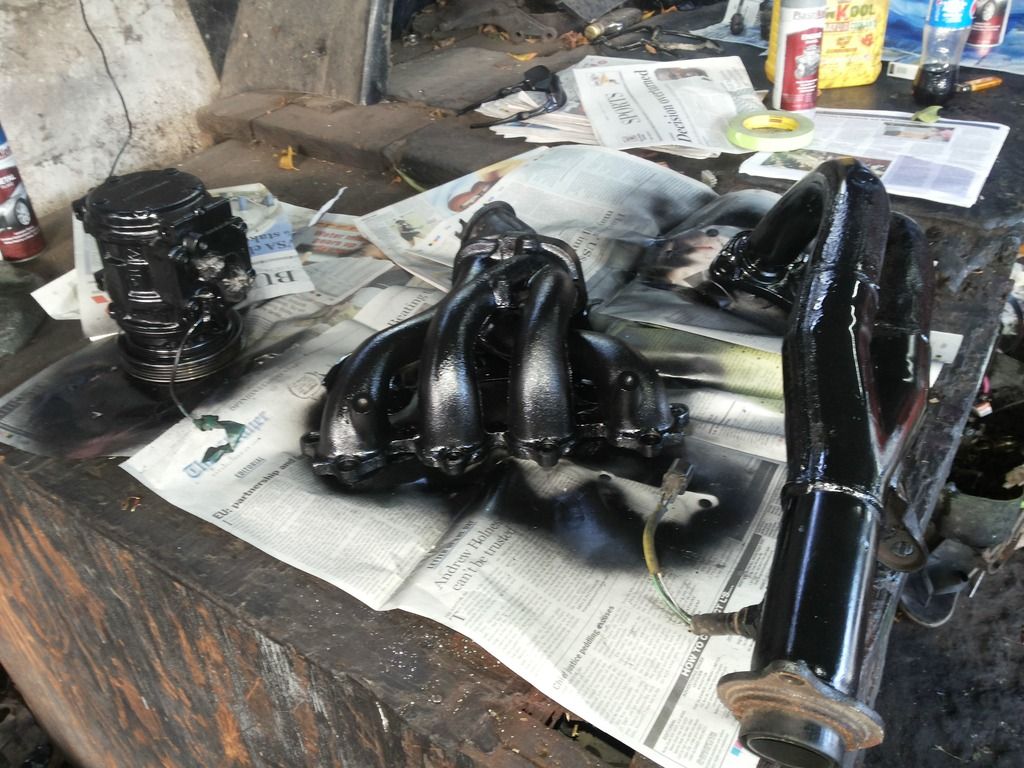
I would have disassembled the intake/fuel rail/injectors/fpr/sensors or at least masked those parts off so it would look like everything wasn't sprayed at once in a hurry.
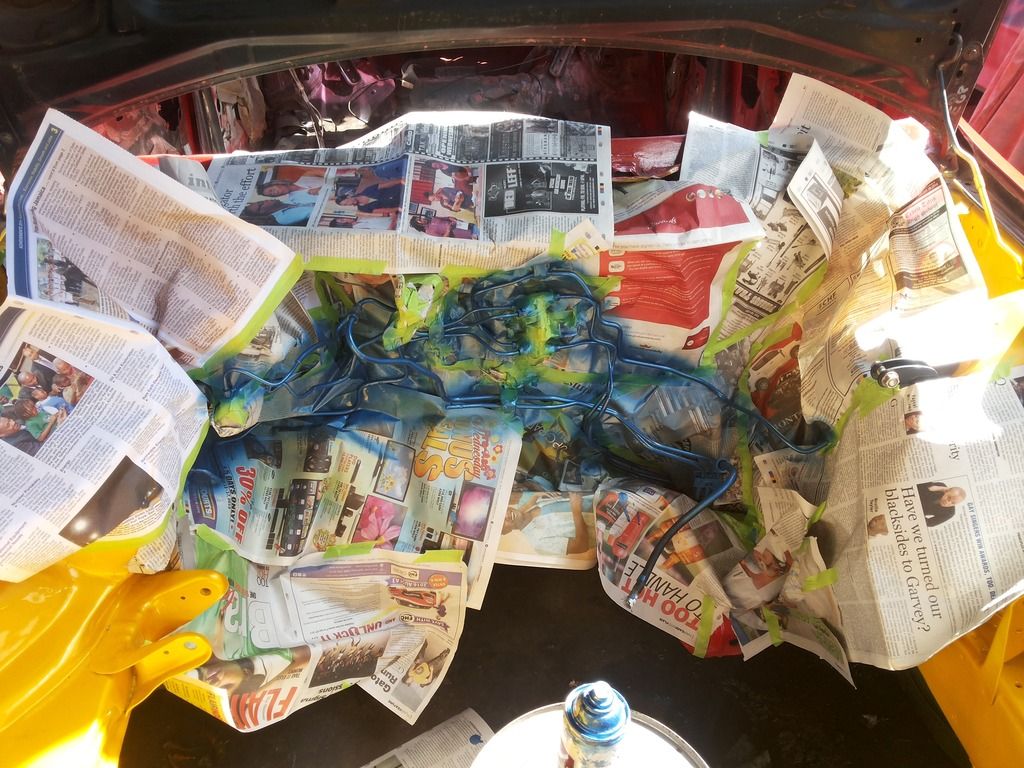
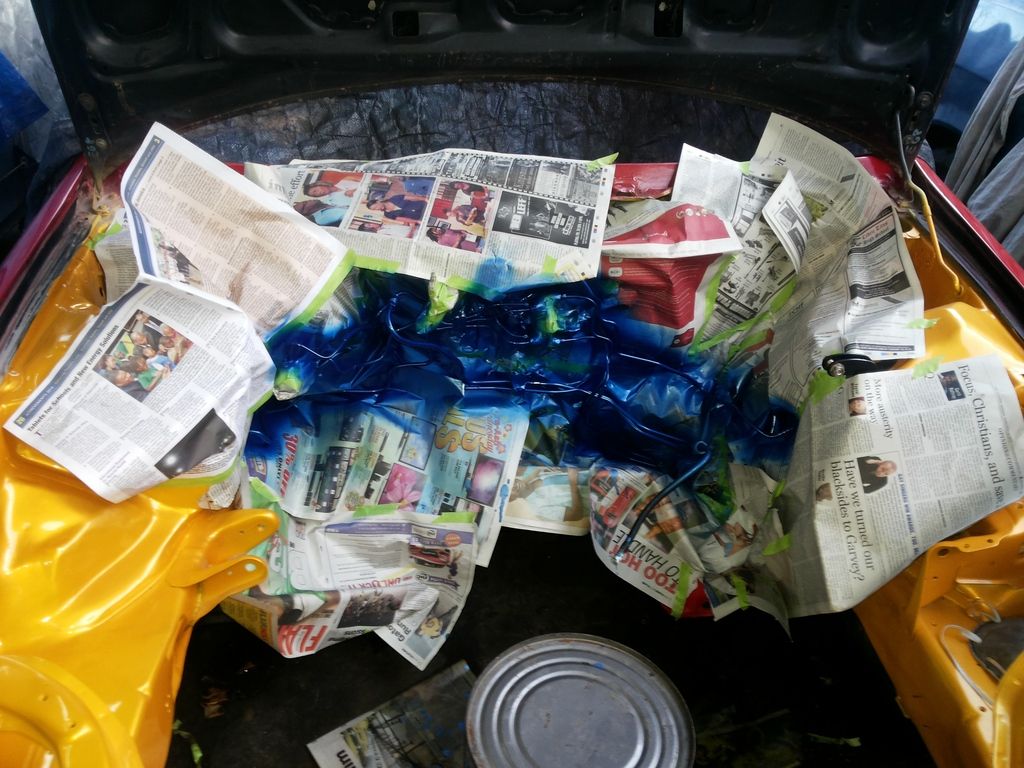
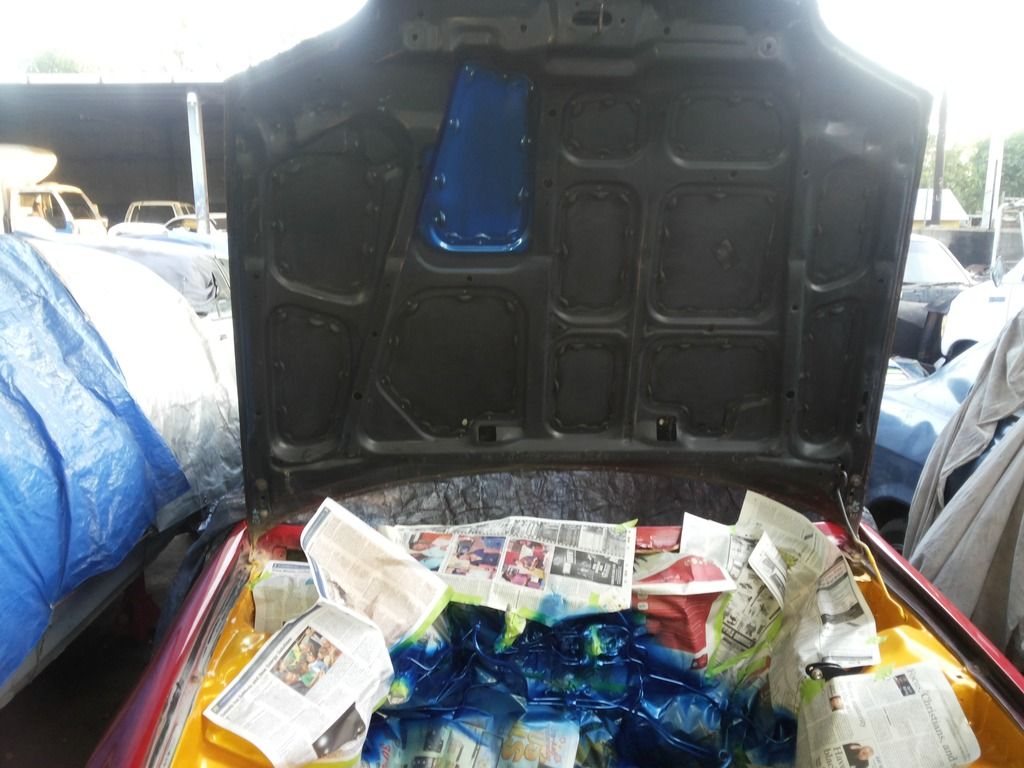
teal_dx wrote:In that clean bright yellow bay, the intake will be the last thing I look at


 [/list]