- Tue Oct 14, 2008 4:25 am
#74225
did a search and none came up so i decided to do one here on civic-eg.com
DIY DIfferent color clock mod....what u do here-on after is all on yoru own risk..i only offer this info as a reference....
ok on with the how-to:
things you will need:
small, fine flathead scrwdriver
philips screwdriver (preferably a stubby)
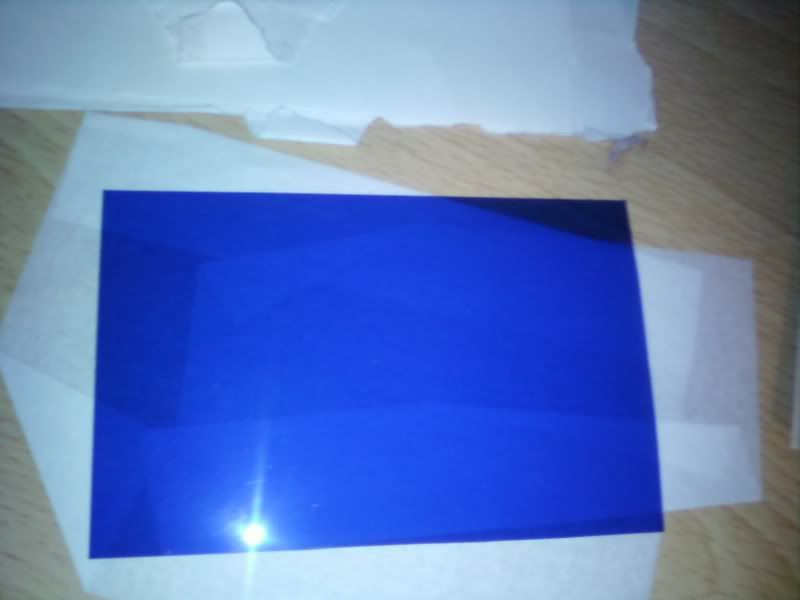
lighting gel of your choice (stuff they use in disco balls and the like)
tape or adhesive (i used scotch tape)
time needed to do this mod:
10-15 minutes
1. first take off your cluster bezel (dont know the terminology on that part),
2. 2 screws on top of the gauge cluster
3. Carefully pry off the hazard switch with a small flathead screwdriver
4. After that, it will reveal a screw hidden behind the hazard switch, remove that and the hazard harness
5. Remove the bezel, jus wiggle it out and it will "clip" out
6. Remove the clock harness
7. Flip the bezel around and take the clock out....it consists of 3 screws, two on top, and one on the bottom
8. Now pop off the clock via clips
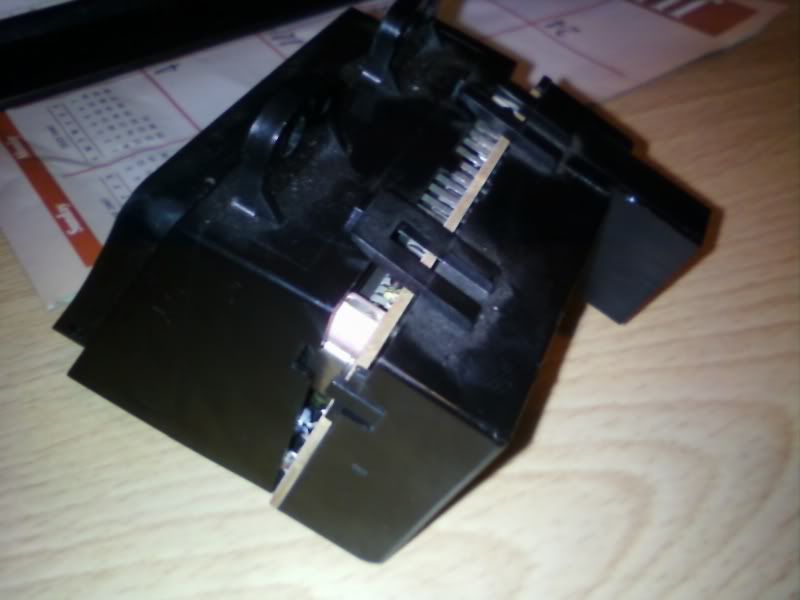
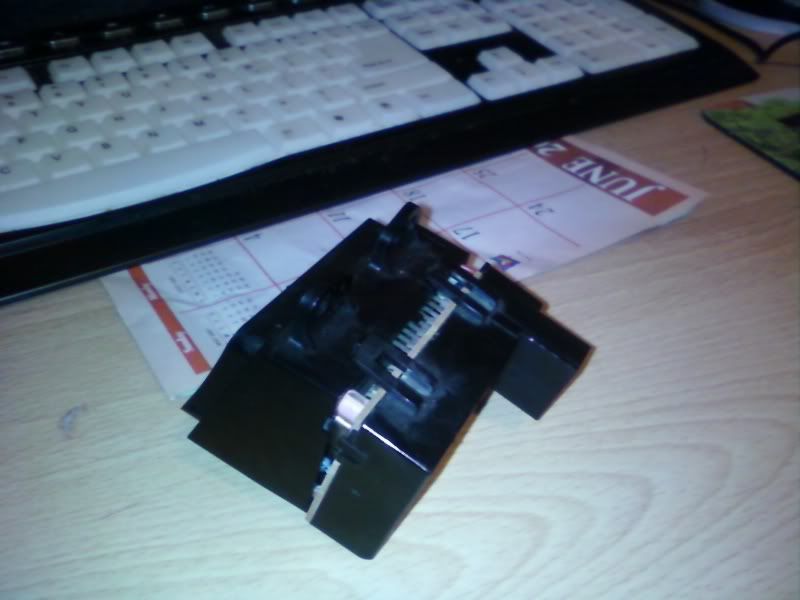
9. Heres the part when divided from each other, be careful of buttons falling off, make note of where they belong especially the "reset" button
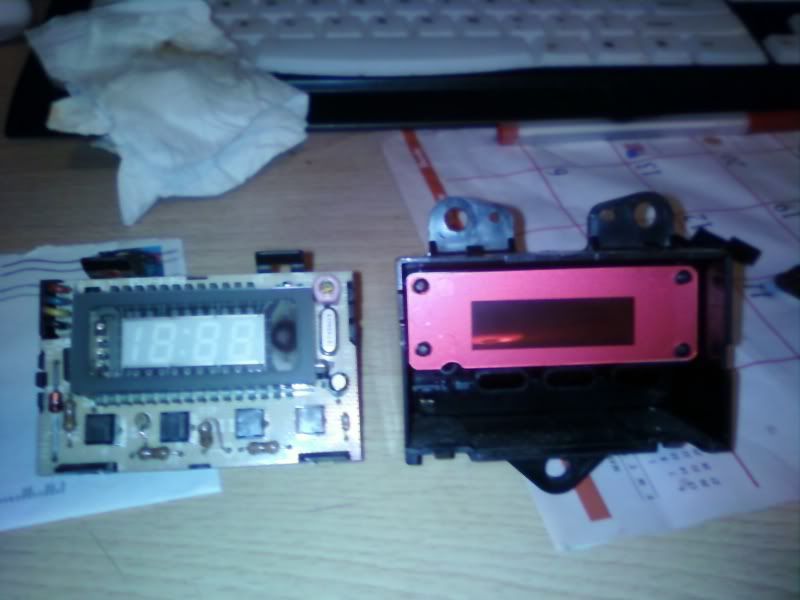
10. Now pop out the red "visor" which makes it the color you have. Jus pop the sucker off, it has four plastic "poles" securing them, but u wont need them after this mod. now, cover the open space with your lighting gel...it should look somethin liek this:
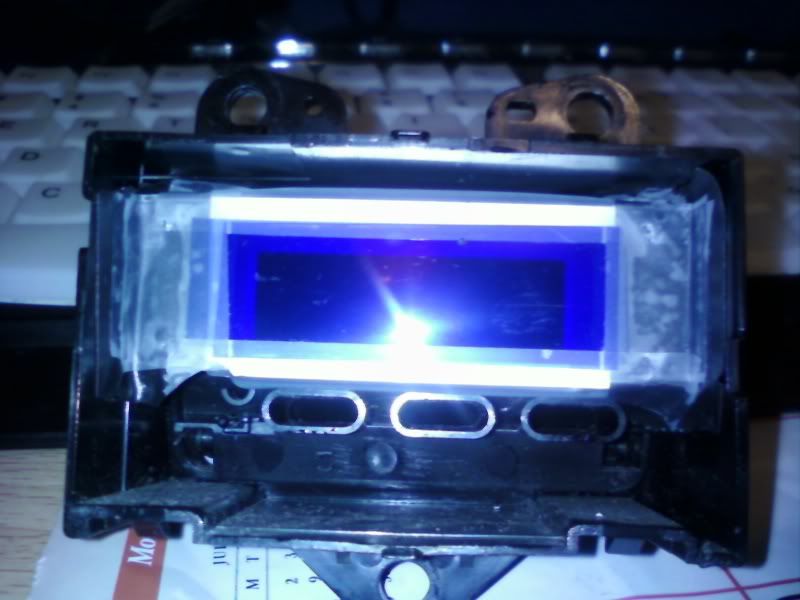
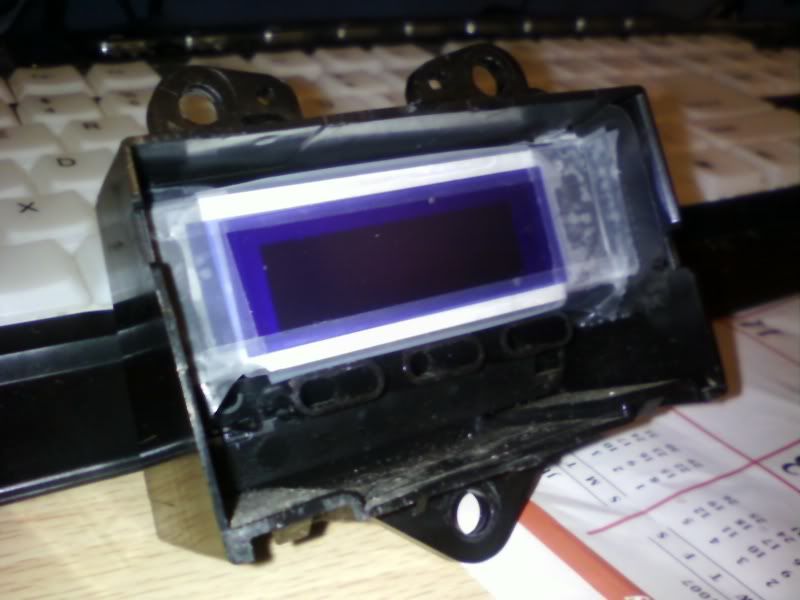
11. Put everything back together. Now, teh outcome, nothign fancy
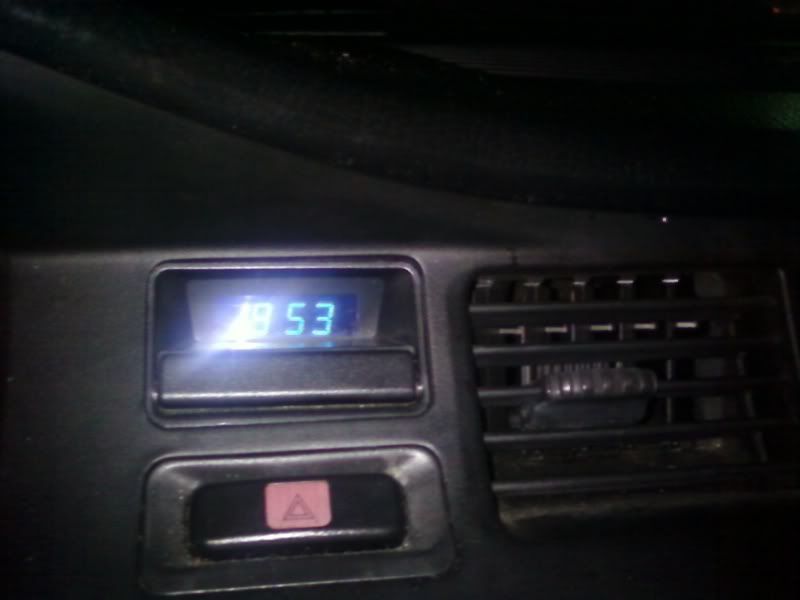
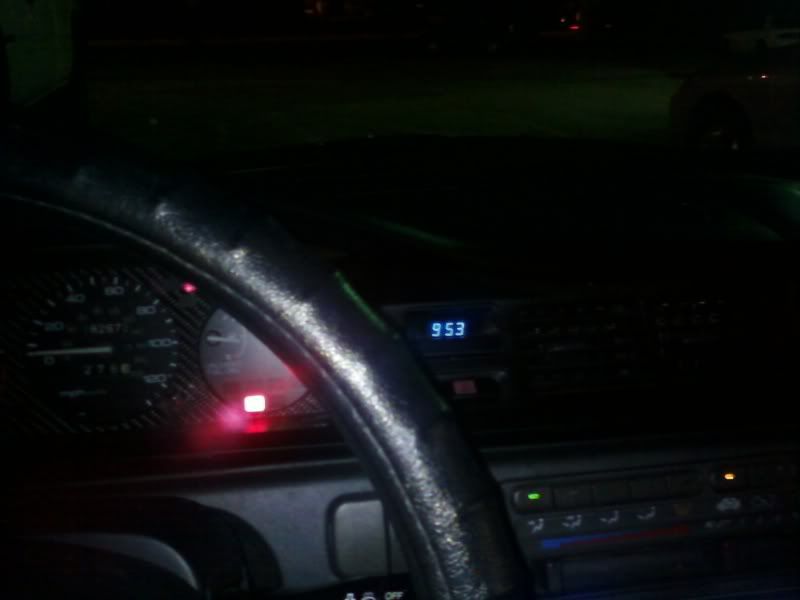
Looks GREAT at night..but not so well at daytime and i only put three layers of the lighting gel....during daylight, if you turn on your headlights/parking lights, you can barely see it....if you put less layers on your clock "screen" maybe it will turn out nicer...but i got lazy and jus left it liek this....
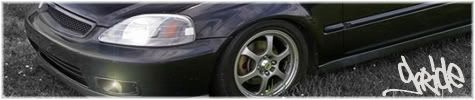
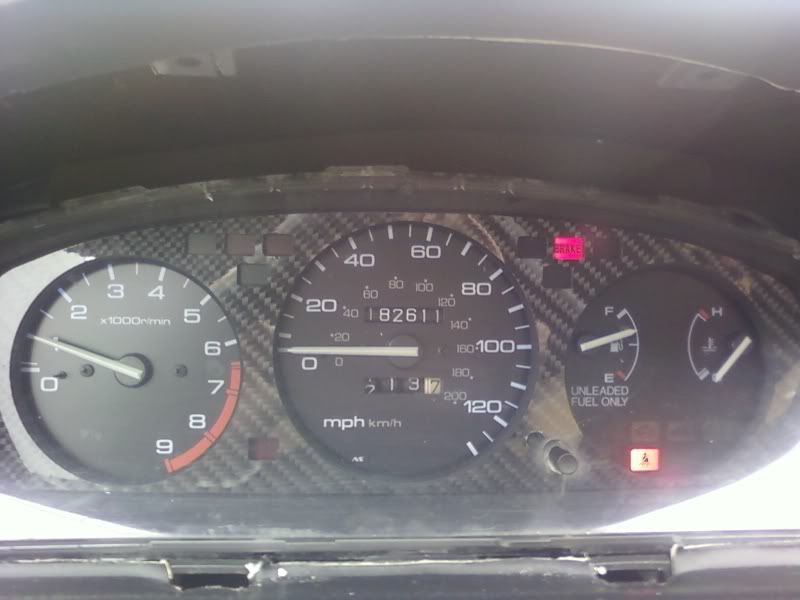
Heres a bonus, OFF-TOPIC pic i love to share with you folks....real carbon fiber gauge bezel
Hope you find this HOW-TO helpful and if u like it, FLASH IT!....
DIY DIfferent color clock mod....what u do here-on after is all on yoru own risk..i only offer this info as a reference....
ok on with the how-to:
things you will need:
small, fine flathead scrwdriver
philips screwdriver (preferably a stubby)
lighting gel of your choice (stuff they use in disco balls and the like)
tape or adhesive (i used scotch tape)
time needed to do this mod:
10-15 minutes
1. first take off your cluster bezel (dont know the terminology on that part),
2. 2 screws on top of the gauge cluster
3. Carefully pry off the hazard switch with a small flathead screwdriver
4. After that, it will reveal a screw hidden behind the hazard switch, remove that and the hazard harness
5. Remove the bezel, jus wiggle it out and it will "clip" out
6. Remove the clock harness
7. Flip the bezel around and take the clock out....it consists of 3 screws, two on top, and one on the bottom
8. Now pop off the clock via clips
9. Heres the part when divided from each other, be careful of buttons falling off, make note of where they belong especially the "reset" button
10. Now pop out the red "visor" which makes it the color you have. Jus pop the sucker off, it has four plastic "poles" securing them, but u wont need them after this mod. now, cover the open space with your lighting gel...it should look somethin liek this:
11. Put everything back together. Now, teh outcome, nothign fancy
Looks GREAT at night..but not so well at daytime and i only put three layers of the lighting gel....during daylight, if you turn on your headlights/parking lights, you can barely see it....if you put less layers on your clock "screen" maybe it will turn out nicer...but i got lazy and jus left it liek this....
Heres a bonus, OFF-TOPIC pic i love to share with you folks....real carbon fiber gauge bezel
Hope you find this HOW-TO helpful and if u like it, FLASH IT!....
EG8
D16Z6 Automatic Swap
D16Z6 Automatic Swap