

- Mon Apr 30, 2007 5:02 pm
#6962
Some of the lower model civics came with no sway bars, front or rear. My 92 dx hatch was like this. Only a few sway bar kits out there specify "for models with out OEM front sway bar"
The other option would be to get a set of lower control arms from a civic that has a front sway bar.
I bought Suspension Techniques front/rear sway bar kit for models that did not come with a front OEM sway bar. This thread is only going to be about the front. I'll create another thread sometime about the rear sway bar install.
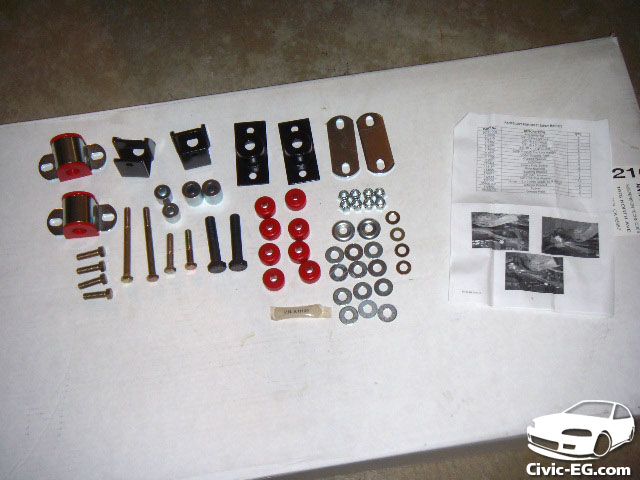
here's all the parts in the kit that will be used for the front.
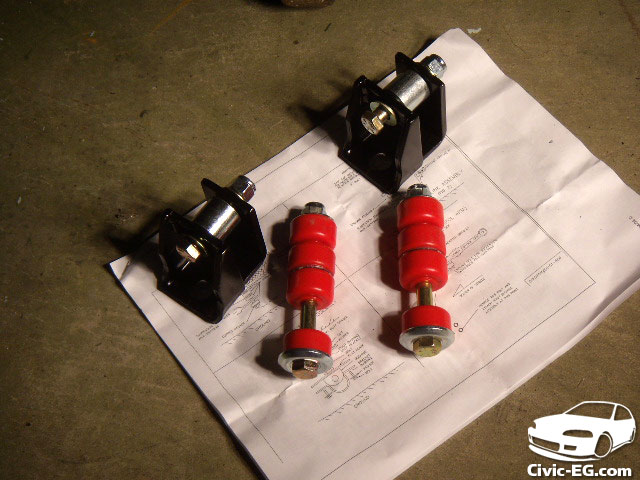
Here is how the end links & control arm adapters will look assembled.
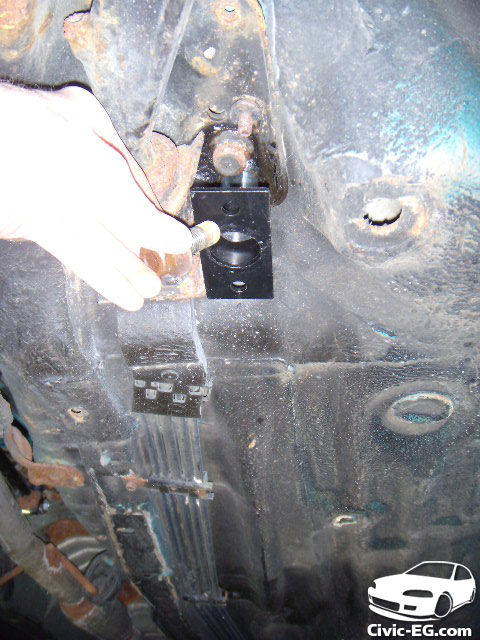
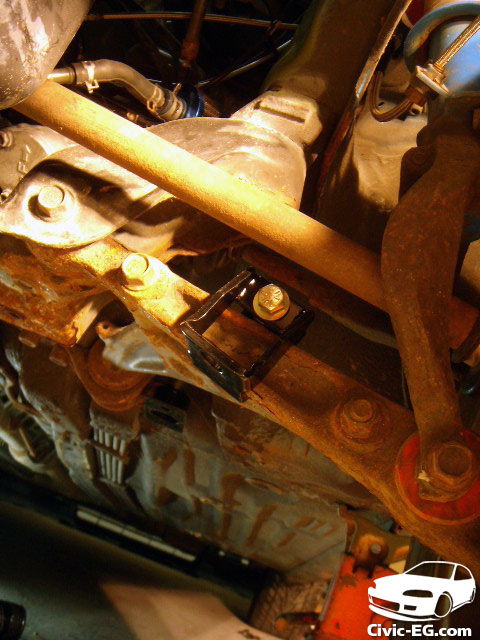
First, unbolt the rear most bolt holding on the lower control arm. There is a bracket with the kit that will go here. This is where the sway bar bushing will mount to.
After you get those on both sides,
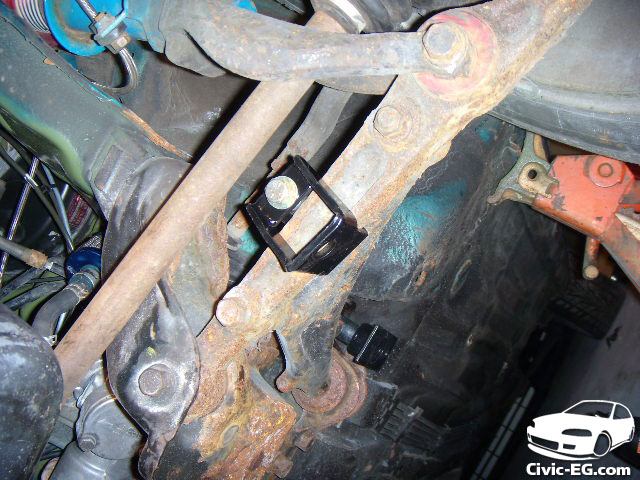
Install the adaptor brackets on the front of the lower control arms. I ended up installing them one more time because they are backwards in the pics lol.
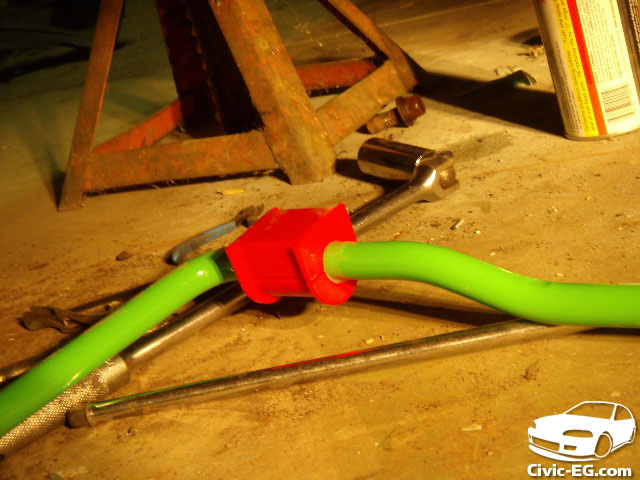
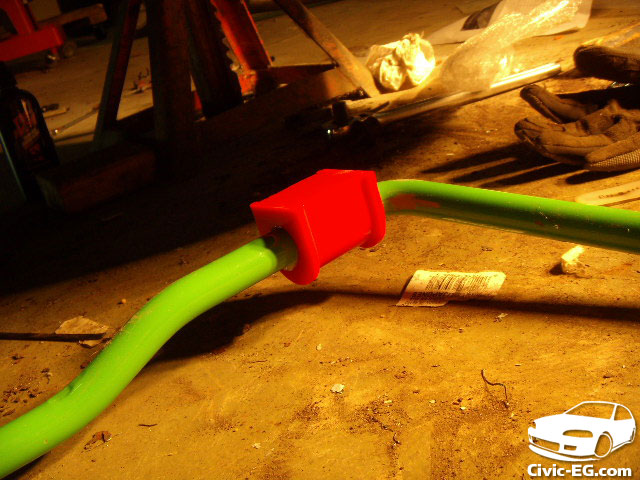
Grease up the inside of the sway bar bushing and pop them on before the outer bends. Only grease the inside. They give you plenty in the kit.
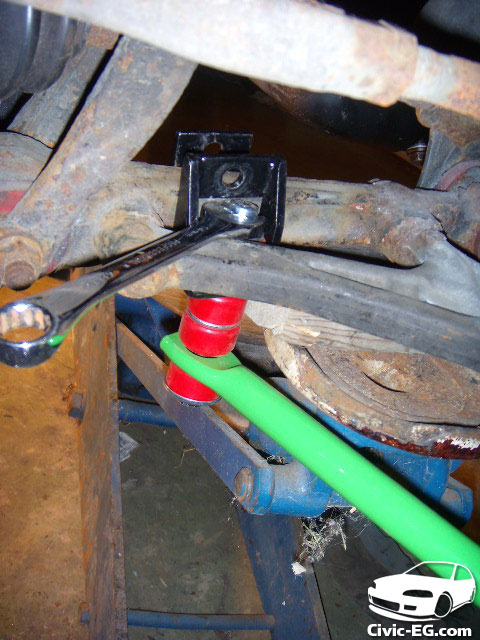
Then put the metal brackets over the sway bar bushings and bolt them up to the black brackets you put on the chassis earlier.
here's where I realized I had the brackets on backwards. The end of the sway bar was nowhere near the hole in the bracket.
So I took them off, flipped them around, and installed them again. This still was not going to fit.
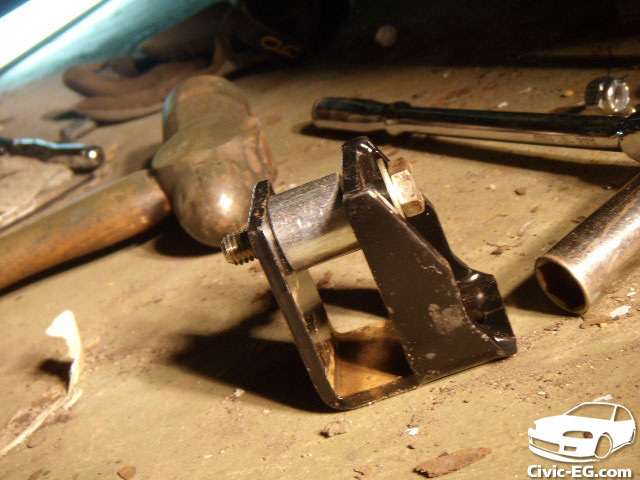
The piece uses a spacer inside on the top that goes around the bolt. The lower control arm that this piece mounts on tapers. it is thinner in the inside and gets thicker at the outer end. The spacer was preventing the adapter piece from sliding out far enough to get close to the end of the sway bar. I tried it every way possible- I even brought out the BFH you see in the background with no luck!
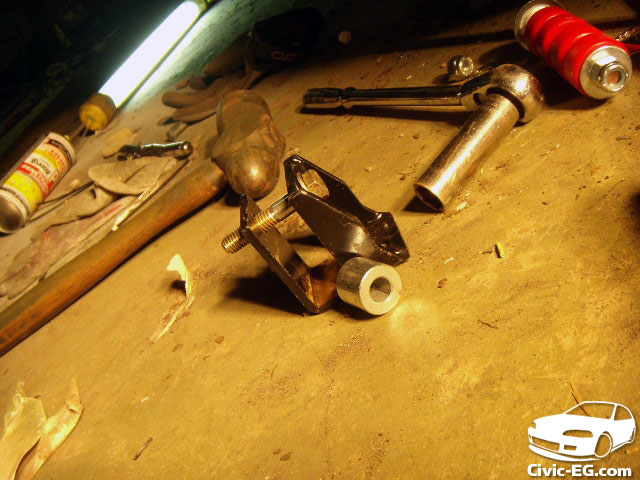
without the spacer, the bracket slid all the way to the end of the control arm, but was too lose. I needed a spacer with less diameter.

I just happened to have 2 in a junk pile!
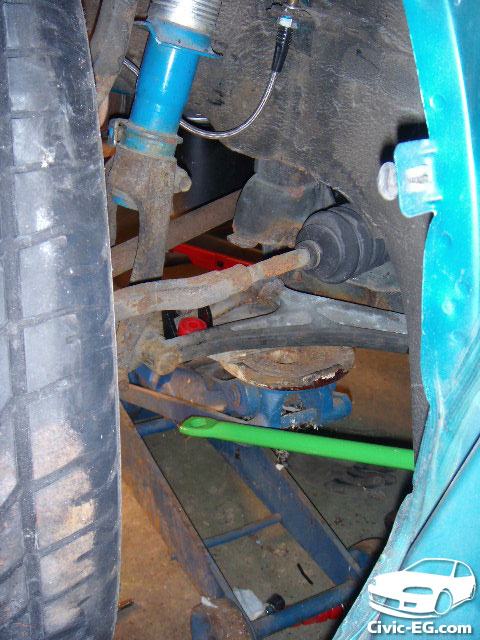
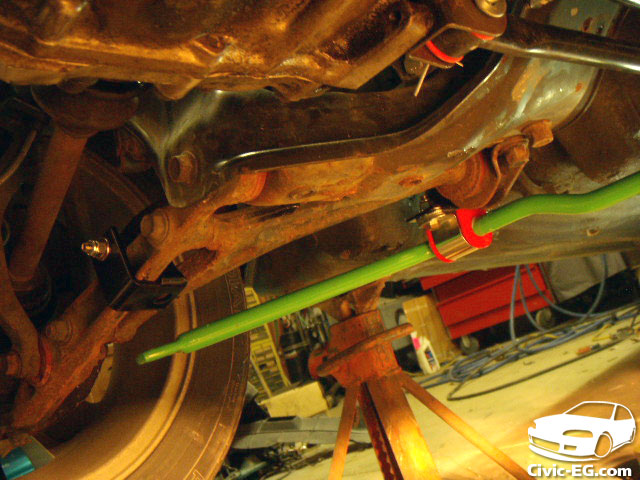
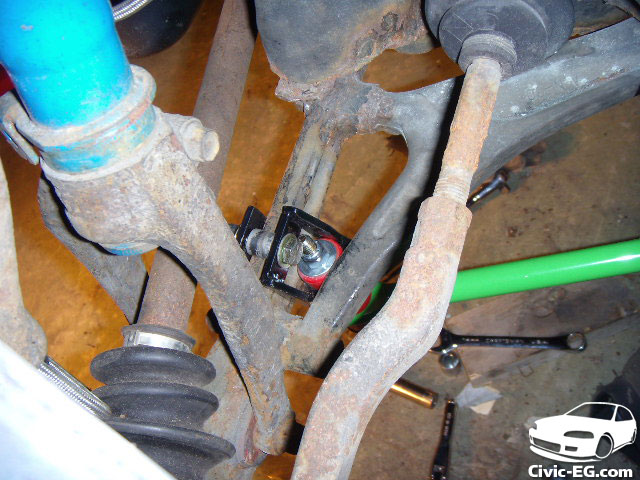
Here we're looking into the wheel well from behind the left front wheel.

adapter bracket with new spacer is installed. the top bushing of the endlink is in place. All I had to do was slide the bolt with the rest of the endlink parts & sway bar attached through the adapter bracket.
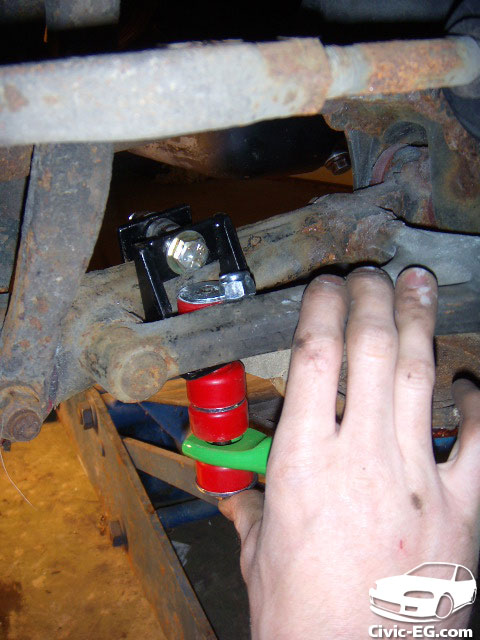
But I couldn't get it far enough through to show enough threads to get it tight! After a while of using the jack from the bottom, and wedging the top bushing down into the bracket, I got enough of the bolt through to get the nut tightened.
I had to take the bolt/spacer out of the bracket since it was in the way to tighten the end link bolt.

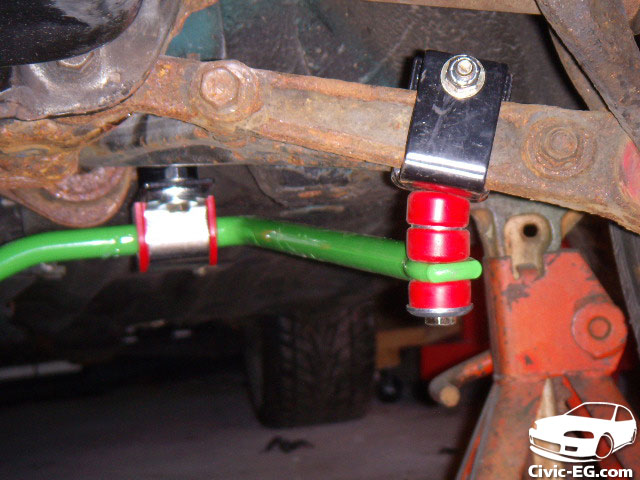
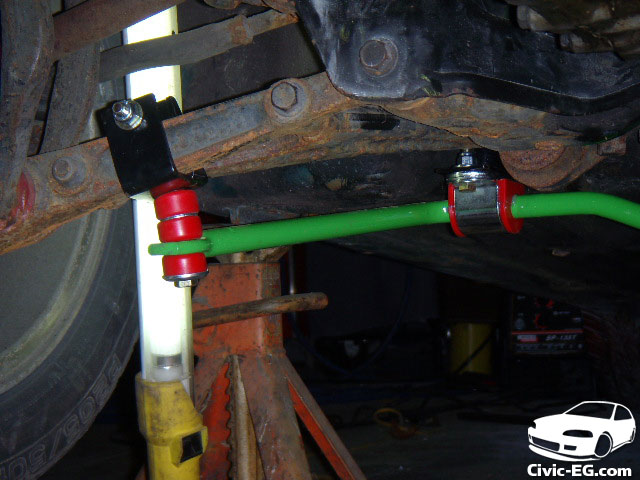
and after all of that, it was in!! The end link bolt touches the adaptor bracket bolt on both sides.
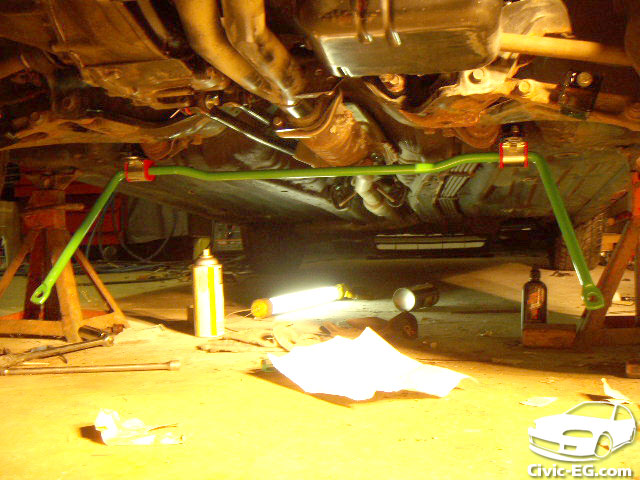
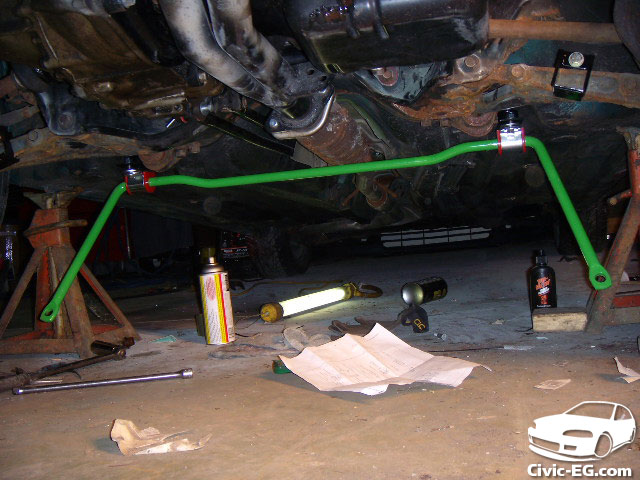
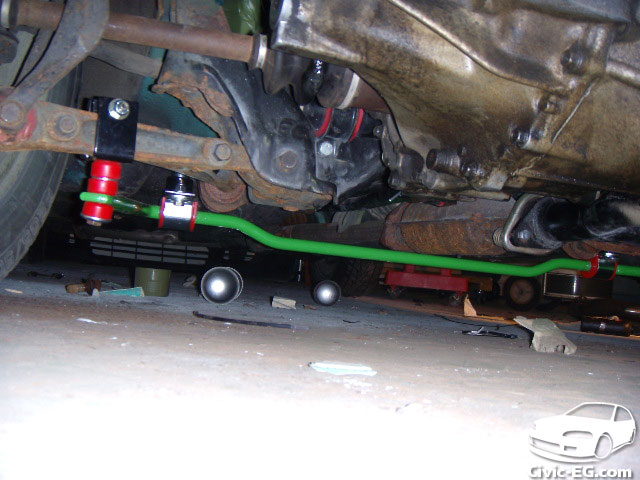
Final install pics:
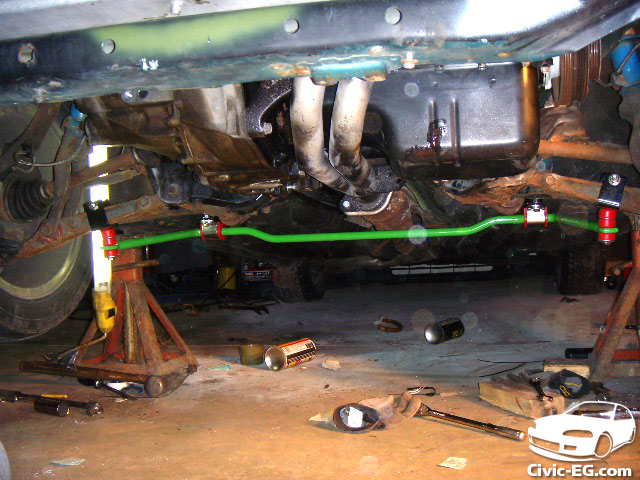
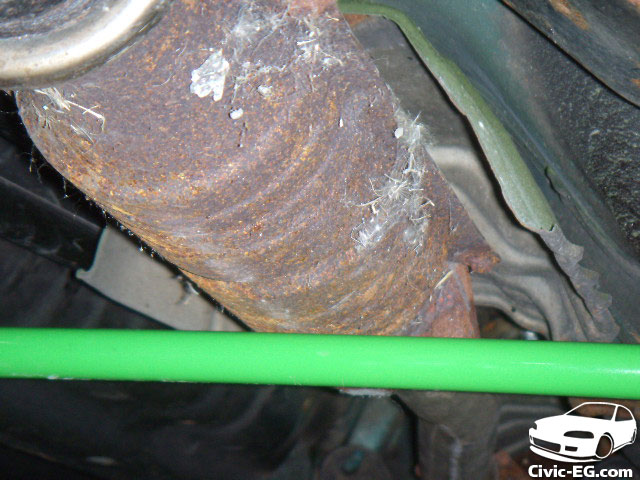
only a few mm clearance from the exhaust

The directions with this kit were very vague and could have been written a little better. The correct sized spacer included would have been nice too!
The other option would be to get a set of lower control arms from a civic that has a front sway bar.
I bought Suspension Techniques front/rear sway bar kit for models that did not come with a front OEM sway bar. This thread is only going to be about the front. I'll create another thread sometime about the rear sway bar install.
here's all the parts in the kit that will be used for the front.
Here is how the end links & control arm adapters will look assembled.
First, unbolt the rear most bolt holding on the lower control arm. There is a bracket with the kit that will go here. This is where the sway bar bushing will mount to.
After you get those on both sides,
Install the adaptor brackets on the front of the lower control arms. I ended up installing them one more time because they are backwards in the pics lol.
Grease up the inside of the sway bar bushing and pop them on before the outer bends. Only grease the inside. They give you plenty in the kit.
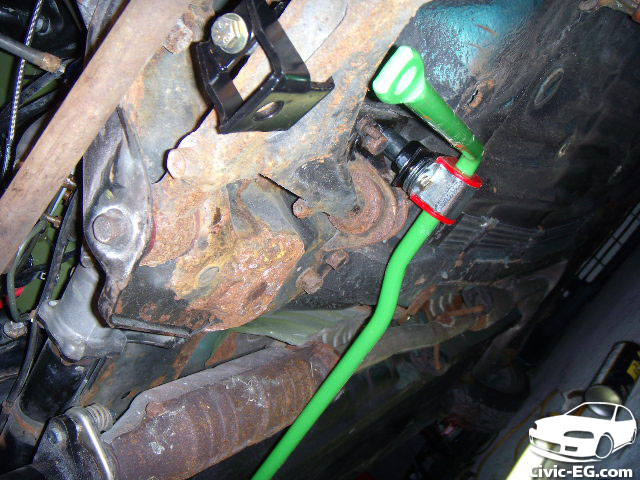
Then put the metal brackets over the sway bar bushings and bolt them up to the black brackets you put on the chassis earlier.
here's where I realized I had the brackets on backwards. The end of the sway bar was nowhere near the hole in the bracket.
So I took them off, flipped them around, and installed them again. This still was not going to fit.
The piece uses a spacer inside on the top that goes around the bolt. The lower control arm that this piece mounts on tapers. it is thinner in the inside and gets thicker at the outer end. The spacer was preventing the adapter piece from sliding out far enough to get close to the end of the sway bar. I tried it every way possible- I even brought out the BFH you see in the background with no luck!
without the spacer, the bracket slid all the way to the end of the control arm, but was too lose. I needed a spacer with less diameter.
I just happened to have 2 in a junk pile!
Here we're looking into the wheel well from behind the left front wheel.
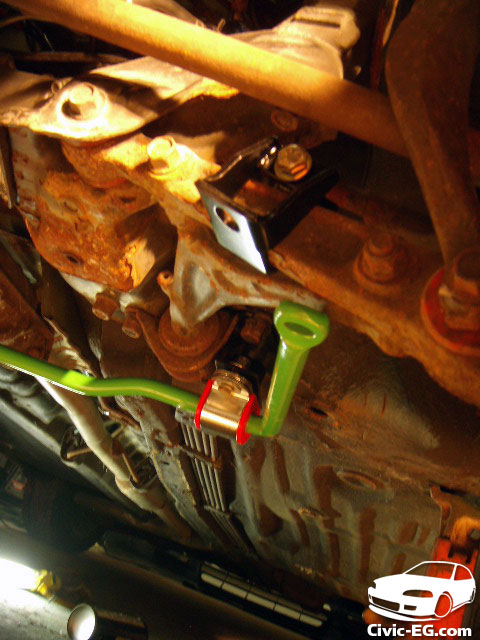
adapter bracket with new spacer is installed. the top bushing of the endlink is in place. All I had to do was slide the bolt with the rest of the endlink parts & sway bar attached through the adapter bracket.
But I couldn't get it far enough through to show enough threads to get it tight! After a while of using the jack from the bottom, and wedging the top bushing down into the bracket, I got enough of the bolt through to get the nut tightened.
I had to take the bolt/spacer out of the bracket since it was in the way to tighten the end link bolt.
and after all of that, it was in!! The end link bolt touches the adaptor bracket bolt on both sides.
Final install pics:
only a few mm clearance from the exhaust
The directions with this kit were very vague and could have been written a little better. The correct sized spacer included would have been nice too!
Do Not PM me your technical questions. Post them in the forum! 
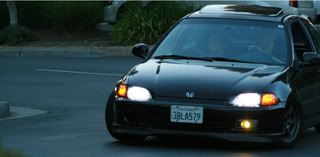
My 1992 SOHC Turbo Hatch
My Youtube Channel: 6th Gear Garage
My 1992 SOHC Turbo Hatch
My Youtube Channel: 6th Gear Garage


 They're 5 yrs old now!


