Stealth Car Alarm Install
2006-2011 Honda Civic
Alarm Bench Prep
Wire Colors/Locations
| WIRE | COLOR | LOCATION |
|---|---|---|
| 12 VOLT CONSTANT | WHT | Harness above fusebox |
| STARTER | YEL | Harness above fusebox |
| IGNITION | BLU | Harness above fusebox |
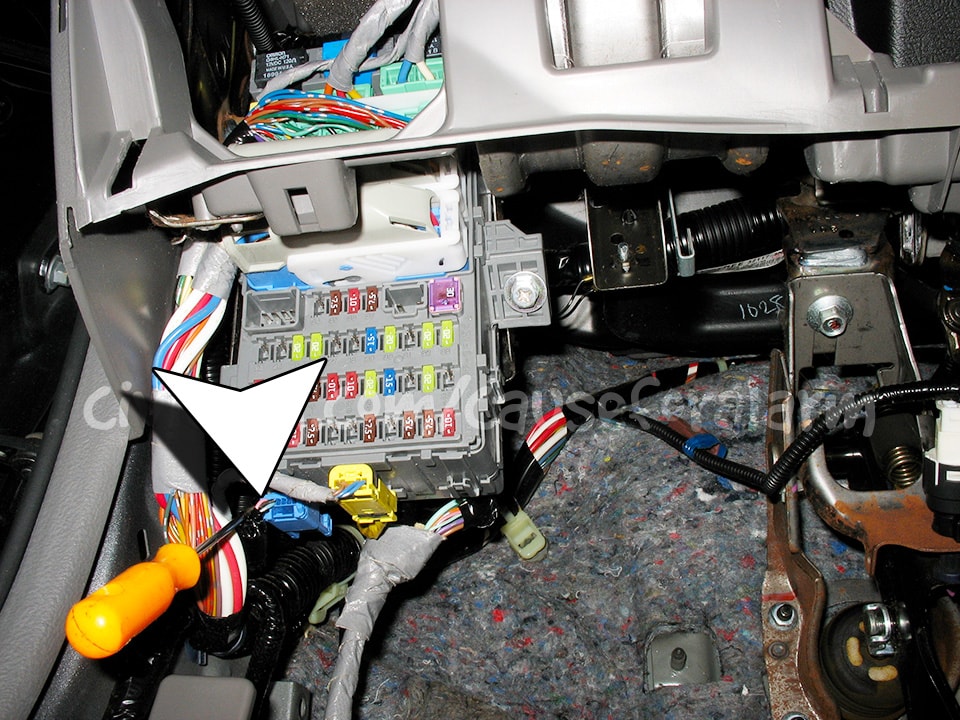
| PARKING LIGHTS (+) | RED | Under dash fusebox |
| DRIVER'S DOOR TRIGGER (-) | GRN | (Diode isolate) |
| FRONT PASS DOOR TRIGGER (-) | LT GRN | (Diode isolate) |
| DRIVER'S REAR DOOR TRIGGER (-) | BRN | (Diode isolate) |
| PASS REAR DOOR TRIGGER (-) | GRAY | (Diode isolate) |
| DOMELIGHT | PINK (-) | Blue harness below fusebox |
| TRUNK TRIGGER (-) | BLU | Under dash fusebox |
| POWER LOCK (-) | GREEN | White harness behind fusebox |
| POWER UNLOCK (-) | GRAY | White harness behind fusebox |
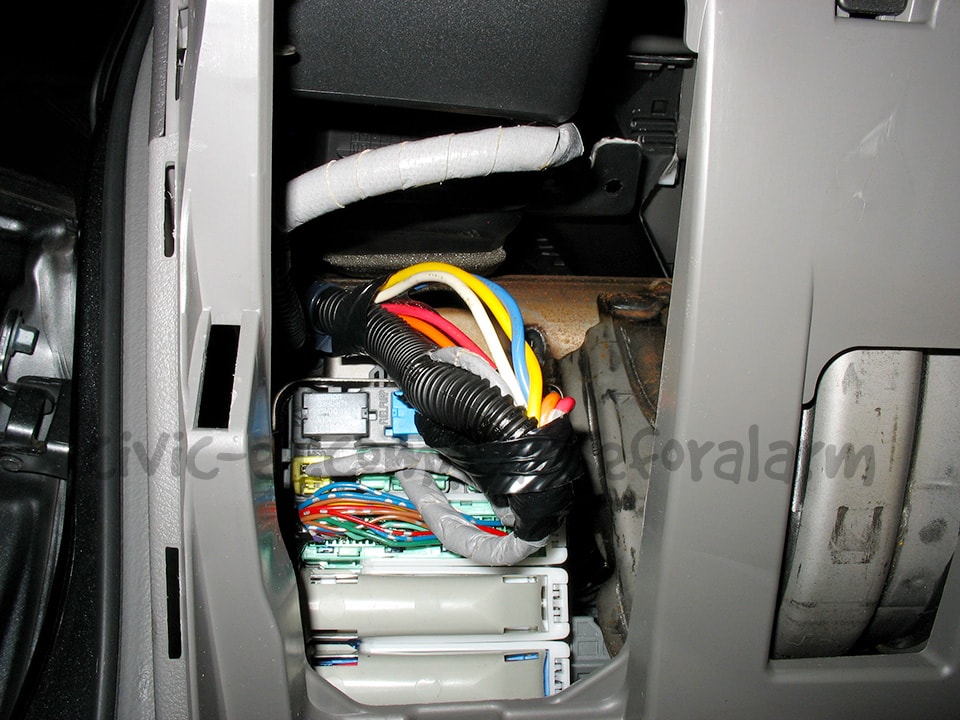
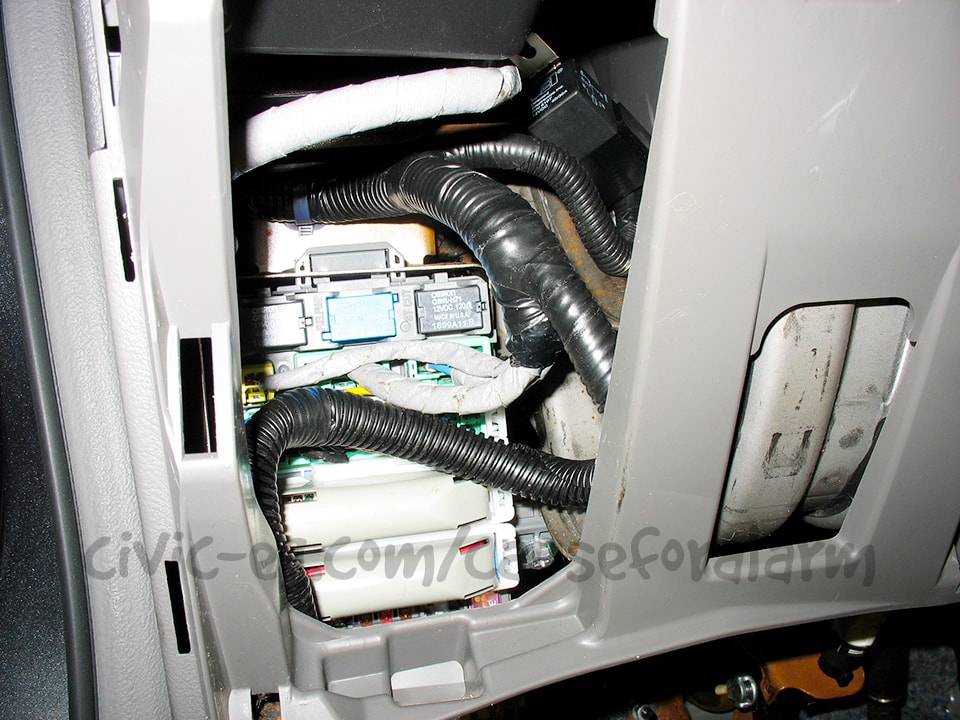
All wires are found on or around the under dash fusebox.
Alarm Mounted (Center Console)
First prep the alarm as shown on the Bench Prep page. Then mount the alarm, Backup Battery, and Glass Break Sensor module.
Siren and Hood Pin Switch
Hide the siren in the engine bay and install the hood pin. Route these wires through the firewall and connect them to the alarm.
- Siren Examples
- Siren (DA)
- Siren (DC)
- Siren (EF)
- Siren (EG)
- Siren (EK)
Antenna
Mount the antenna to the top center of the windshield and tuck the wire into the headliner.
- Antenna Examples
- Antenna (EK)
- Antenna (DC)
- Antenna (EF)
- Antenna (EG)
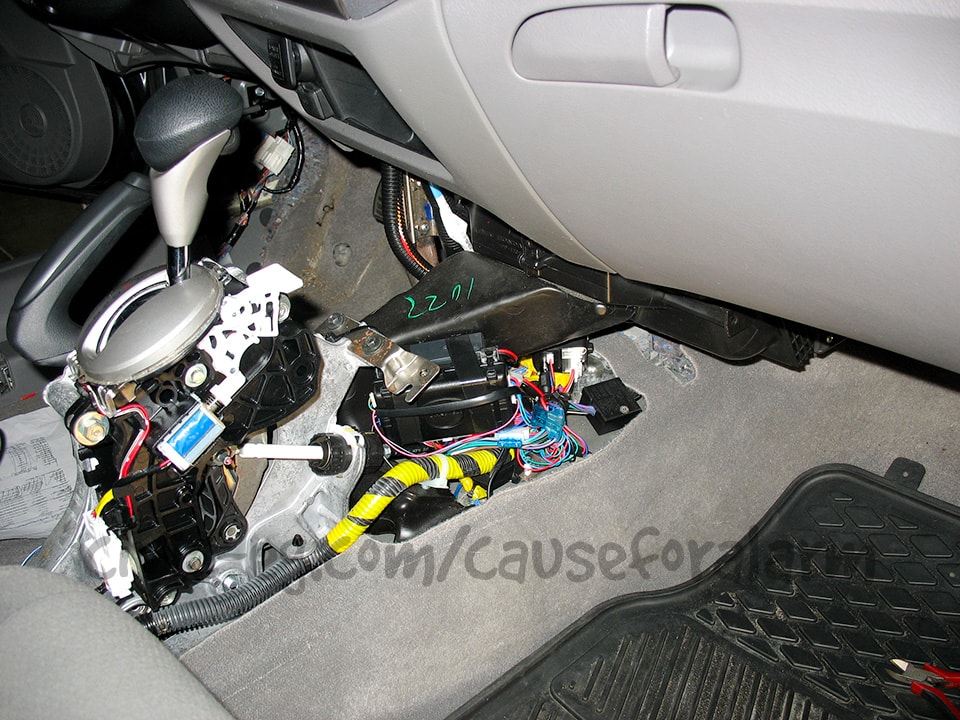
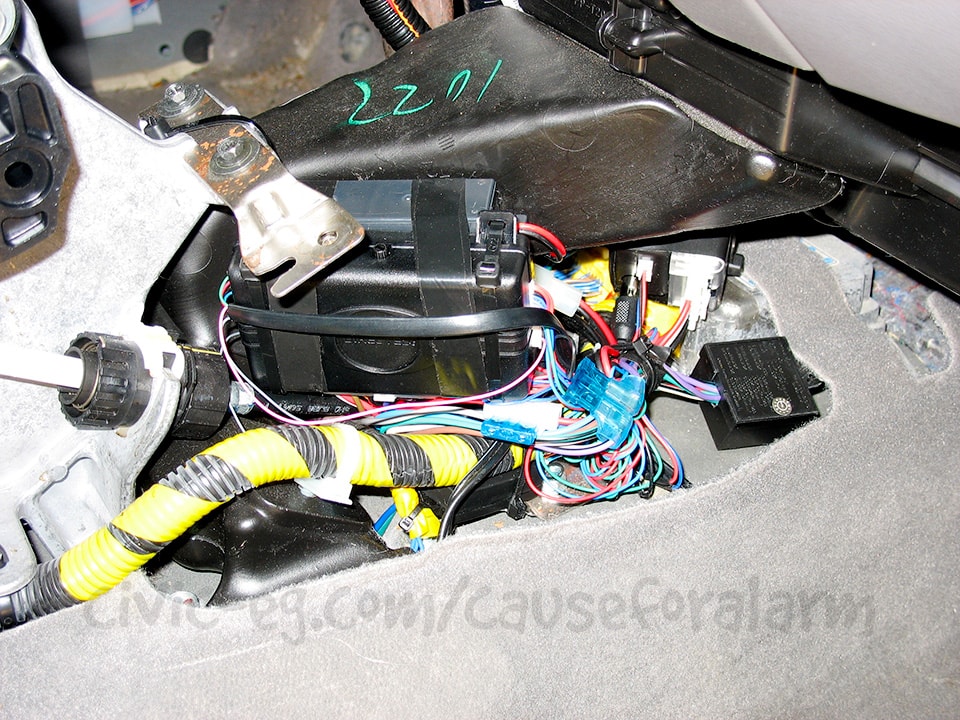
Alarm Harness Run
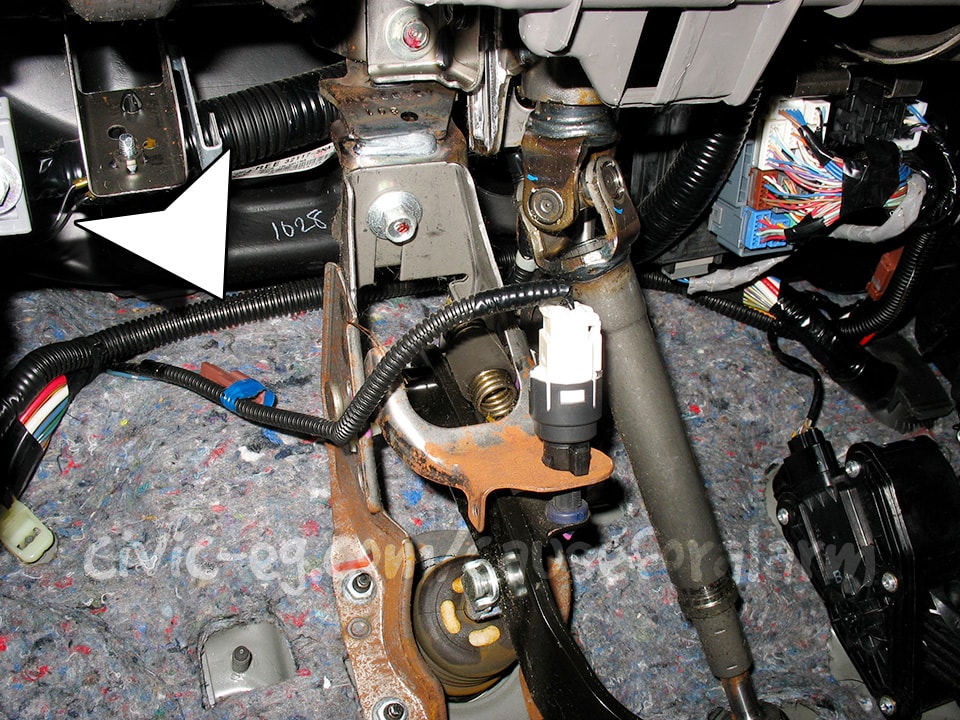
Loom the wires that connect the alarm to the car and run them out of the way of the steering column and pedals on to the under dash fusebox.
Wire Connections
Constant 12V, Ignition 12V, Starter Wire
Determine where to mount the Start Kill Relay and prep some loom. Connect the alarm's power and ignition, as well as the Start Kill Relay's ignition input. Cut the starter wire and connect it to the Start Kill Relay, then loom and tape up the wiring.
Domelight Wire
On this generation of Civic, the domelight wire is separate from the door triggers.
Parking Lights, Door Trigger, Trunk Trigger

These wires are all found together on this harness. Test and verify each one. Each door is triggered independently, and you will need to diode isolate each one and connect to the alarm's door trigger wire. The diode's stripe faces the door connection, and the non-striped ends are twisted together and connected to the alarm's green wire.
Tilt and Glass Break Sensors
Here is my Best Example of how to wire and mount the Tilt and Glass Break Sensors.
Test the Alarm
Arm the alarm and use the key to unlock and open each door, resetting the ignition between each test. Test the trunk trigger, hood pin, verify the parking lights blink, and that the keyfob locks and unlocks the doors. Sit in the driver's seat, arm the alarm, then try to turn the key in the ignition. It should set off the alarm and not allow the car to start.
The Glass Break Sensor can be tested by rapping a bundle of keys on the window glass repeatedly. The Tilt Sensor can be tested with a floor jack. The backup battery can be tested by arming the alarm with the hood open and the hood pin depressed, then removing the ground wire from the battery.
Once you are satisfied with the test, reassemble the interior and do a quick retest.